10 Steps to Level a Garden Without a Digger
You can level your garden without a digger by first measuring uneven spots and softening the soil a day or two before. This simple approach helps you get a smooth and even surface without heavy machinery.
Removing grass carefully in manageable squares makes the process easier and less overwhelming.
Then, dig up high areas and save the soil for later use. Fill low spots with quality topsoil or compost, and make sure to compact each layer well.
Keep checking with a level as you go to ensure everything is even.
Let the soil settle for several days before planting anything. Following these steps will help you create a smooth, stable garden surface ready for your next project.
It’s a great way to get your garden looking its best, even without a digger!
Key Takeaways
– Measure garden slopes accurately using a spirit level, tape measure, and straight lumber to identify uneven areas before leveling.
This step helps you know exactly where the garden is uneven and needs work.
– Soften soil by watering 1-2 days before manually removing grass with a spade and garden fork in manageable sections.
It’s easier to dig out the grass when the soil is soft, trust me.
– Redistribute excavated soil from high spots to low areas, filling with nutrient-rich topsoil or compost for optimal grass growth.
This gives your garden a nice, even base and helps new grass grow healthy.
– Compact filled areas gradually using a lawn roller or by walking, checking levels frequently to prevent future sinking.
Pressing down the soil firmly means it won’t sink later on.
– Allow soil to settle for several days with light watering before planting to ensure a stable, even garden surface.
Give it time and a bit of water so everything sets nicely before you start planting.
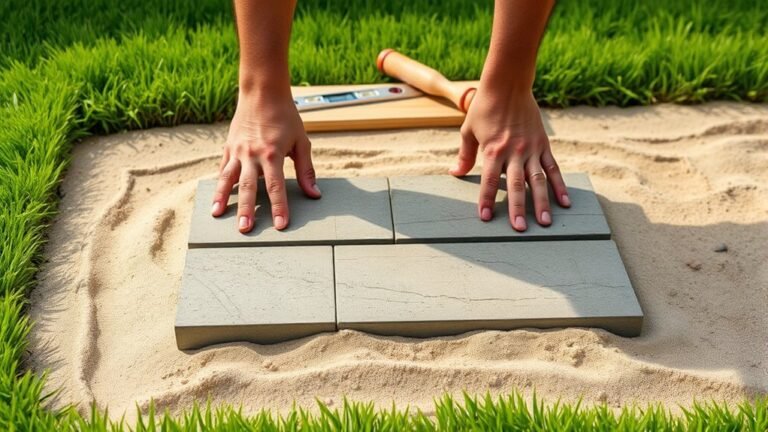
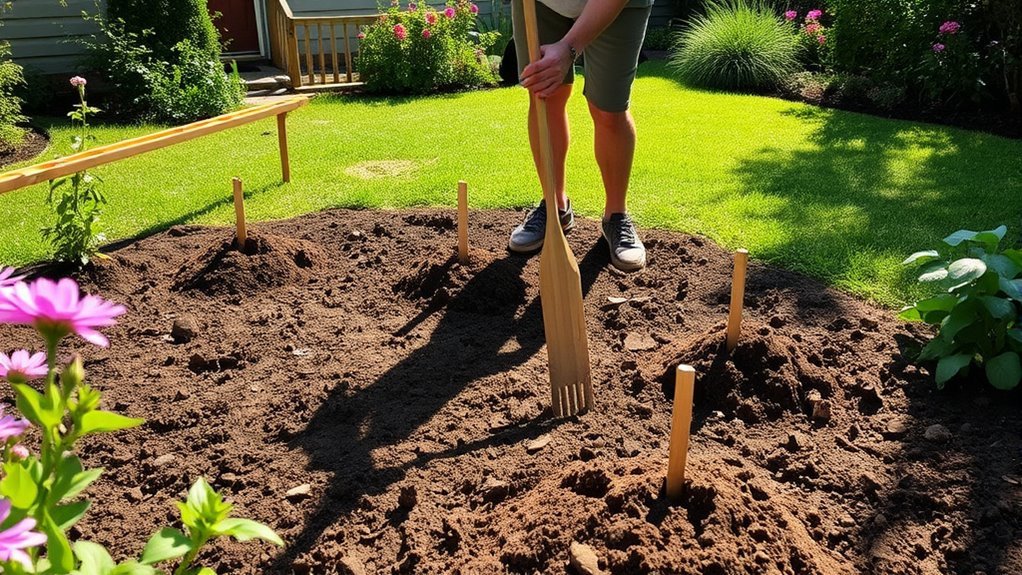
Measure Your Garden’s Uneven Areas Precisely
To start leveling your garden, first measure the uneven areas precisely. Use a tape measure to identify height variations across your garden, focusing on significant high and low spots.
Lay a straight piece of lumber or a long board on the ground to spot slopes visually by checking for gaps underneath. Then, employ a spirit level or stretch a string line between stakes to accurately measure the slope and confirm evenness.
Document all your measurements on a simple sketch or map to create a clear plan. Aim for a maximum height difference of 2-3 inches between the highest and lowest points to keep the leveling manageable without heavy machinery.
Record your measurements on a sketch and keep height differences within 2-3 inches for easy leveling.
This precise measuring sets the foundation for effective garden leveling. It really helps make the whole process a lot smoother and more accurate.
Soften the Soil to Make Grass Removal Easier
You’ll want to soften the soil before removing grass to make the process much easier and less labor-intensive. Using tools like a garden rake and spade helps break up compacted soil and slice through roots efficiently.
Benefits Of Soil Softening
Although grass removal can be tough on hard soil, watering a few days beforehand softens the ground, making your spade work much easier.
Soil softening offers several benefits that help you level the ground efficiently.
- It reduces soil compaction, so cutting and removing grass requires less effort.
- Moist soil allows cleaner cuts with your spade, preserving grass roots and easing removal.
- Softened soil keeps your tools and materials cleaner, minimizing mess and muddy conditions.
- It improves soil aeration and nutrient absorption, setting the stage for healthier planting after leveling.
Tools For Soil Preparation
When soil is softened through proper watering, using the right tools makes grass removal much easier. Start your soil preparation by watering the garden a day or two before working to guarantee the soil is moist but not muddy.
Use a spade to cut the grass into manageable 10×10-inch squares, preserving roots for replanting if needed. A garden rake is essential for breaking up compacted soil, helping you remove grass cleanly and level the ground effectively.
Alongside these, consider using a hoe to loosen the soil further. After removing grass and leveling, you can use a lawn roller to smooth the soil surface.
Having the proper tools and equipment ready streamlines your soil preparation and sets the stage for a well-leveled garden. It really makes the whole process much easier and more efficient.
Techniques To Loosen Soil
Start by thoroughly watering your garden 24 to 48 hours before loosening the soil. Moist earth softens up and makes grass removal much easier.
Once the soil is damp, follow these techniques to loosen soil effectively:
- Use a garden rake to break up compact soil, creating a softer surface for easier digging.
- Incorporate organic matter like compost to improve soil texture and aeration. This also helps with grass removal.
- Employ a garden fork to aerate the soil, which allows better penetration and reduces the effort needed when lifting turf.
- Cut through grass roots with a flat-edged shovel. This minimizes soil disruption and guarantees cleaner removal.
These steps help you loosen soil efficiently. It makes the whole grass removal process smoother and less strenuous.
Remove Grass Carefully Without Heavy Machinery
You’ll want to gather basic tools like a spade and garden fork to remove grass manually without heavy machinery.
Cut the grass into manageable squares, lifting carefully to protect the soil and roots. Once removed, you can reuse the turf or compost it to keep your garden healthy.
Tools For Grass Removal
Three essential tools can help you remove grass carefully without heavy machinery. Using the right equipment makes it easier to lift grass while preserving the soil beneath.
Here’s what you’ll need:
- Sharp spade – Cut grass in 10 x 10 inch squares. Keep the blade at a shallow angle to avoid damaging roots or soil.
- Garden fork – Loosen soil gently before lifting grass squares to reduce disturbance.
- Watering can or hose – Soften the soil a day or two before you start, making digging easier.
- Wheelbarrow or tarp – Transport removed grass efficiently for reuse or composting.
With these tools, you’ll remove grass carefully, maintaining soil structure and preparing your garden for leveling. It’s all about being gentle and smart with what you use.
Manual Grass Cutting Techniques
Once you’ve gathered the right tools to remove grass carefully, it’s time to focus on cutting it manually without heavy machinery. Begin by watering the lawn a day or two before to soften the soil, making manual grass cutting much easier and cleaner.
Use a spade to cut the grass into manageable squares, about 10 x 10 inches. This way, you can remove grass while preserving the root structure.
Keep the spade flat against the ground to minimize soil disruption and promote healthier regrowth. Work methodically from one edge to the other, removing grass in sections for even coverage.
This careful approach helps you maintain control over the process. Plus, it prepares your garden for the next leveling steps without damaging the soil beneath.
Grass Disposal And Reuse
Although removing grass manually takes more effort, careful disposal and reuse can turn this task into a sustainable part of your gardening routine. To level your garden effectively without heavy machinery, follow these steps:
- Cut the grass into 10×10 inch squares with a spade for easier handling and to preserve roots. Water your lawn a day or two before removal to soften the soil, making grass extraction smoother.
- Slide the spade carefully under each square, keeping it flat to maintain root structure for potential reuse.
- Reuse removed grass to patch bare spots or create new turf, and compost clippings to enrich soil in other garden areas.
Dig Up High Spots and Save the Soil
Before you start filling in low spots, identify the high areas of your garden. You can use a spirit level or a straight piece of lumber to spot uneven ground.
Once you locate the high spots, carefully dig up the soil using a shovel. Take care to preserve its structure. Save this soil in a wheelbarrow or a nearby pile for easy access.
This saved soil will be essential when redistributing material to achieve a level surface. By moving soil from these elevated areas to the lower spots, you create a balanced, gentle slope.
After redistributing, compact the soil firmly with your feet or a roller. This helps prevent future settling and guarantees long-lasting stability.
This approach lets you level your garden effectively without heavy equipment. It’s a simple way to get the job done right.
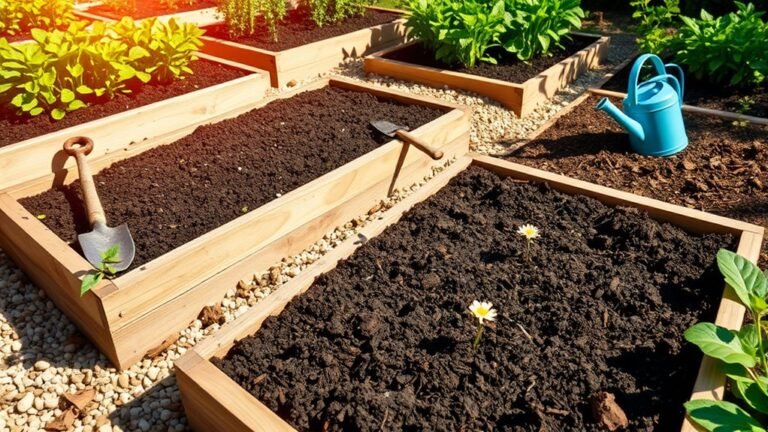
Fill Low Areas to Level Your Garden
To fill low areas, choose nutrient-rich topsoil or compost that supports healthy grass growth. Spread the material evenly, focusing on raising the dips rather than lowering high spots.
After filling, compact the soil by walking over it or using a heavy object to prevent future settling. This way, your garden stays nice and level without any annoying dips coming back.
Selecting Suitable Fill Material
Choosing the right fill material is essential when leveling low areas in your garden. It helps guarantee healthy grass growth and proper drainage. You want a mix that nourishes plants while preventing waterlogging.
Consider these options:
- Topsoil – Ideal as fill material. It’s nutrient-rich and supports robust grass growth. Prices vary from £20 to £80 per tonne.
- Compost – Mix it with topsoil to improve soil structure. It helps retain moisture and boosts fertility.
- Sand – Use sand to enhance drainage in clay-heavy soils. But be sure to combine it with organic matter to avoid hardpan formation.
- Gravel – Best for very low spots needing extra drainage. Always cover it with soil or compost to sustain grass.
Make sure your fill material is free of weeds and debris. This helps avoid future problems.
Compacting Filled Low Spots
Compact the filled low spots carefully to create a stable, even surface for your garden. Start by moistening the soil slightly to help it compact better and reduce dust.
Add soil in small layers, compacting each layer with a lawn roller or by walking over it firmly. This gradual approach guarantees the soil settles tightly without air pockets, resulting in well-compacted soil.
After compacting, use a spirit level or straight edge to check for any uneven spots and add soil where needed. Keep monitoring these areas over time, as soil settle can cause sinking.
Refill and compact as necessary to maintain a smooth surface. Properly done, this levelling process will help you level your garden effectively without heavy equipment.
Use a Rake to Level Soil Evenly
Grab a rake and start spreading the soil evenly across your garden. Using a rake is key to leveling your garden without heavy equipment. It helps distribute loose dirt and fills low spots with soil from higher areas, creating a uniform surface.
Follow these steps:
- Work in small sections to manage soil evenly. This way, you won’t miss any spots.
- Keep the soil slightly moist for easier manipulation. Dry soil can be tough to move around.
- Use a straight edge or spirit level often to check for evenness. It’s a quick way to see how flat your garden really is.
- Move soil from high to low spots using smooth, consistent strokes. This helps create that nice, level surface you’re aiming for.
Compact Soil to Level and Stabilize Your Garden
Once you’ve spread the soil evenly with your rake, the next step is to firm it up. Compact soil by using a lawn roller or the back of a spade, applying even pressure across the surface.
This compaction process reduces air pockets and increases soil density, which is essential for leveling your garden and promoting healthy root growth. Make sure the soil has proper moisture levels—slightly moist soil compacts best, so avoid working when it’s too dry or soggy.
Work in multiple passes, allowing the soil to settle between each, and check regularly for any uneven spots to adjust as needed. Proper compaction creates a stable, firm base that supports grass and helps prevent erosion effectively.
Give the Soil Time to Settle Before Planting
Give your garden soil at least three to seven days to settle after leveling to create a firm, stable base for planting. It’s important to give the soil time to settle so air pockets disappear and the surface compacts properly.
During this period, you should lightly water the soil to help it settle without turning it muddy. Also, keep an eye out for any subsidence or uneven spots that might need re-leveling.
Make sure to check soil moisture regularly to maintain appropriate conditions for future planting. And try to avoid planting seeds or turf until the soil has fully settled to prevent displacement.
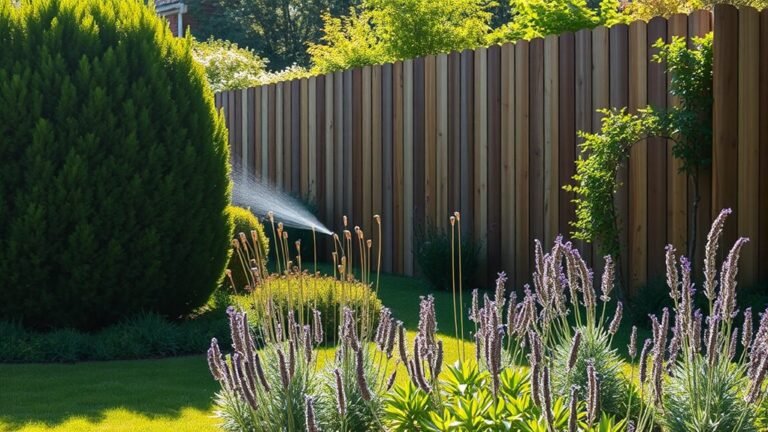
Check Drainage Regularly and Fix Water Pooling
Anyone maintaining a leveled garden should regularly check for water pooling after rainfall, as standing water can harm grass and plant roots. Start by inspecting low areas to identify spots where poor drainage causes water to collect.
To fix this, use a shovel or rake to create drainage channels that guide excess water away from these spots and into areas where it can soak in. You should also check drainage by evaluating your garden’s slope with a spirit level or string line, ensuring water flows away from structures and beds.
Incorporate organic matter like compost to improve soil structure and reduce water pooling. If persistent pooling continues, consider installing a French drain or adding gravel to enhance your drainage system and keep your garden healthy.
Prepare the Surface for New Grass or Landscaping
After addressing drainage issues, focus on preparing your garden surface for new grass or landscaping. Proper preparation is key when leveling a sloping garden to guarantee effective drainage and healthy growth.
First, clear debris, rocks, and old turf to create a clean workspace. It’s easier to work on a tidy surface without anything in the way.
Next, water the soil a day or two before you start. This softens the ground, making it easier to remove grass and reshape the area without getting stuck in the mud.
Use a garden rake to break up compacted soil. This helps improve drainage and encourages roots to grow strong.
Then, spread nutrient-rich topsoil evenly over low spots. Raising these areas helps create a level surface. After that, compact the soil by walking or rolling over it to stabilize everything.
These steps will help you soften the ground and create a solid base for your new garden. You’ll be all set for healthy growth and a beautiful landscape.
Frequently Asked Questions
What Is the Quickest Way to Level a Garden?
The quickest way to level your garden is to rake soil from high spots into low areas after watering it to soften the ground. Use a straight board and spirit level to check evenness, then compact the soil firmly.
What Is the 70 30 Rule in Gardening?
Think of your garden as a symphony; the 70/30 rule means you’ll plant 70% perennials for lasting harmony and 30% annuals for lively solos. This balance keeps your garden thriving with less work and more beauty.
How to Level Without a Digger?
You can level your garden by removing grass, measuring elevations with a spirit level, and redistributing soil using a rake. Compact the soil by walking over it or pressing with a heavy object for a smooth, even surface.
How to Level a Very Uneven Garden?
You’ll tackle a very uneven garden by measuring highs and lows, loosening soil with a rake, removing grass, redistributing soil manually, adding nutrient-rich topsoil, and compacting it regularly to create a stable, level surface ready for planting.
Conclusion
By following these steps, you’ll transform your uneven garden into a smooth, inviting space without needing heavy machinery. Remember, “Rome wasn’t built in a day,” so be patient as the soil settles and drainage improves.
Take your time preparing the surface before planting new grass or landscaping. This careful preparation ensures you’ll enjoy a beautiful, level garden that lasts.
With care and effort, you’ll create the perfect outdoor haven you’ve been dreaming of. Leveling your garden without a digger might take some time, but the results are worth it. A well-leveled garden improves drainage, prevents water pooling, and makes mowing easier.
So, stick with the process and watch your garden transform into a neat, level space that enhances your outdoor living. Your patience and hard work will pay off with a stunning garden you can enjoy for years to come.