How to Lay Garden Slabs in 5 Simple Steps
To lay garden slabs in five simple steps, start by preparing and compacting a solid base using well-graded MOT Type 1 sub-base. This strong foundation is key to a long-lasting patio that won’t shift or crack over time.
Next, plan your slab layout carefully. Arrange the slabs with consistent gaps for joints to keep everything neat and professional-looking.
Then, level and mark the patio area using pegs and string. Make sure to create a slight slope to help with drainage and avoid water pooling.
Now, lay the slabs evenly on a mortar bed. Tap them down gently to remove any air pockets and ensure they’re firmly set in place.
Finally, fill the joints, edge the patio, and clean off any residue for a polished finish. Keep going to discover helpful tips for flawless results!
Key Takeaways
- Excavate and compact a 75mm thick MOT Type 1 sub-base with a 1:40 slope for a stable patio foundation. This helps water drain away easily and keeps everything solid.
- Plan your slab layout by arranging slabs with 1cm gaps. Use scaled cut-outs to finalize your design before you start.
- Mark your patio boundaries with wooden pegs and string lines. Make sure to keep that slight slope for proper drainage.
- Lay the slabs on a 50mm thick mortar bed. Tap them gently with a rubber mallet so they sit firmly and the joints stay even.
- Fill the joints with pointing material once the slabs are set. Edge the patio with paviours on mortar, and don’t forget to clean off any mortar residue right away.
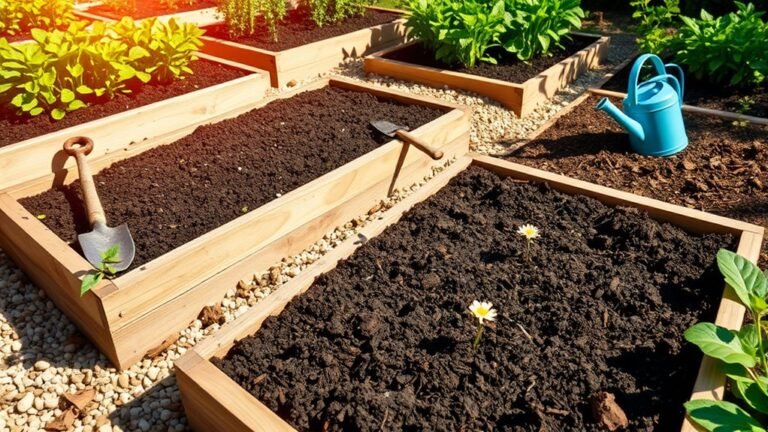
Prepare and Compact the Patio Base for a Solid Foundation
Before you lay any slabs, you need to prepare and compact the patio base to guarantee a solid foundation. Start by excavating the patio area to at least 150mm, removing all organic material to create a stable foundation.
Next, fill the space with well-graded MOT Type 1 sub-base material up to around 100mm deep. Compact this sub-base using a wacker plate until it’s about 75mm thick, ensuring you create a compacted sub-base that won’t shift.
Fill with MOT Type 1 sub-base, compact to 75mm for a stable, unshifting foundation.
Be sure to check the level and slope with wooden pegs and a spirit level. Keep a minimum 1:40 gradient for proper drainage away from buildings.
This base provides the stability you need before laying slabs on a mortar bed. It helps prevent future settling and guarantees a long-lasting patio.
Plan Your Slab Layout by Arranging Slabs Before Marking Out
Once your patio base is firmly prepared and compacted, start planning your slab layout by placing several slabs on the ground. Arrange slabs to assess shapes and identify interlocking patterns that improve both stability and appearance.
Pay close attention to the gaps between slabs, keeping them consistent—around 1cm—for easier joint filling later. Using cut-out paper pieces on a scaled plan can help refine your layout before marking out.
Adjust the arrangement until you finalize the layout, ensuring it fits your space and design preferences perfectly.
| Slab Size (cm) | Shape | Position |
|---|---|---|
| 60 x 60 | Square | Bottom Left |
| 30 x 60 | Rectangle | Center |
| 45 x 45 | Square | Top Right |
| 60 x 90 | Rectangle | Bottom Right |
| 30 x 30 | Square | Top Left |
Level and Mark Your Patio Area With Pegs and String
Start by hammering wooden pegs firmly into the ground at the four corners of your patio area to set clear boundaries. Connect these pegs with a taut string line to outline your space precisely.
Use a spirit level to check the string line’s surface level, adjusting the pegs as needed. It’s important to create a slight slope for drainage, directing water away from your home.
Align the pegs’ height with existing paving or manhole covers to keep consistency. Once level, mark the ground inside the string lines to indicate where to dig for sub-base preparation.
Taking these steps guarantees a well-leveled, properly drained patio area. These gardening tips will help you build a solid foundation for your garden slabs, preventing future issues.
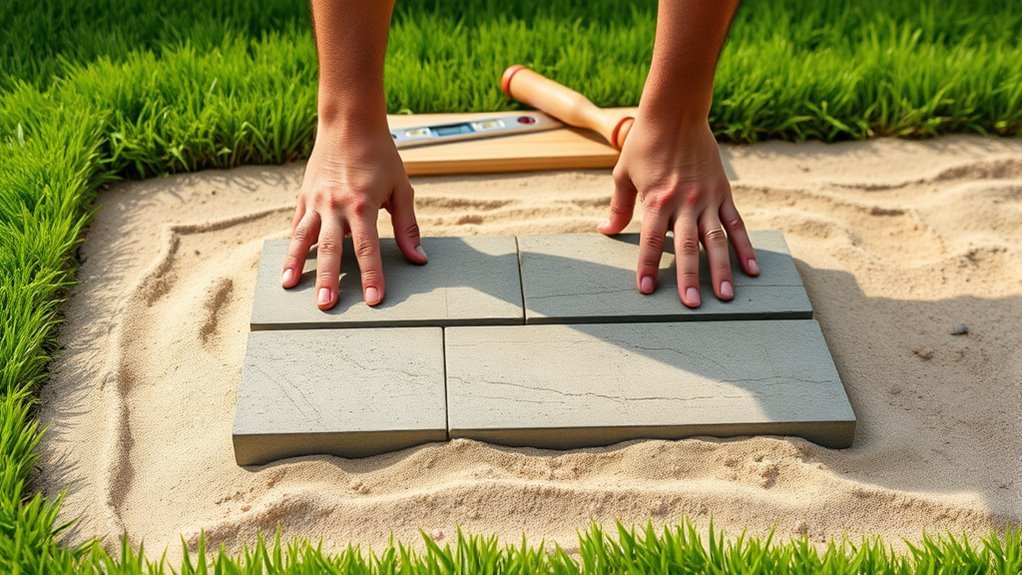
Lay Garden Paving Slabs Evenly on a Mortar Bed
Mix five parts sharp sand with one part ordinary Portland cement (OPC) to create a strong mortar bed for your garden slabs. Before you lay the patio, calculate the square metres to mix enough traditional mortar.
Spread the bedding mortar to set a 50mm deep bed, forming peaks above your guide line—this helps prevent slab movement. Gently place natural stone paving onto the mortar, ensuring full contact rather than a dot and dab approach.
Use a rubber mallet to tap each slab down, removing air pockets and making sure slabs are level. Keep a consistent 1cm gap between slabs for jointing and drainage.
Wetting the mortar with clean water before laying helps improve adhesion and durability. This way, your patio stays solid and even for years to come.
Fill Joints, Edge the Patio, and Clean Mortar Residue
Several important steps follow laying your garden slabs: filling the joints, edging the patio, and cleaning off mortar residue.
First, fill joints fully with pointing material to prevent weed growth and water ingress. Use a spirit level or plank to check slab alignment regularly, making sure everything looks neat and uniform.
Edge the patio with paviours set on a 5cm–8cm deep mortar bed. This helps keep the alignment steady and stops the slabs from moving around.
Finally, clean mortar residue promptly using a damp sponge or wash float. Doing this before it dries will help avoid any staining.
| Step | Action | Tip |
|---|---|---|
| Fill Joints | Pack joints with pointing mix | Consistent 1cm joint width |
| Check Alignment | Use a spirit level or plank | Maintain even slab height |
| Edge Patio | Set paviours on mortar layer | Depth of 5-8cm for stability |
| Clean Residue | Wipe slabs with damp sponge | Clean before mortar sets |
| Prevent Weeds | Fully pack joints | Stops weed growth efficiently |
Frequently Asked Questions
What Are the Common Mistakes When Laying Slabs?
You’ll often make mistakes like spacing slabs unevenly, neglecting drainage slopes, preparing the sub-base poorly, skipping planning, and walking on slabs too soon. Avoid these to guarantee your slabs stay level, stable, and durable over time.
How to Put Slabs in Garden for Beginners?
You’ll feel like a paving pro instantly! Just dig deep, lay a solid gravel base, spread creamy mortar, then carefully place each slab, tapping them down evenly. Take your time, and your garden will look flawless!
Can You Lay Slabs Directly on Soil?
You shouldn’t lay slabs directly on soil because they’ll shift and become unstable. Instead, you need a properly compacted sub-base to keep slabs level, guarantee good drainage, and prevent damage from moisture and ground movement.
What Pattern Is Easiest for Laying Pavers?
The easiest pattern for laying pavers is the straight lay. You just place slabs in parallel rows, making alignment and spacing simple. Using spacers helps you keep consistent joints and a neat, professional look.
Conclusion
Now that you’ve laid your garden slabs with care, your patio will stand strong like a Roman road for years to come. Just remember, prepping the base and planning your layout are key to a smooth process.
Keep your tools handy, work steadily, and don’t rush the finishing touches like filling joints and cleaning up.
Soon enough, you’ll have a beautiful outdoor space ready for relaxing or entertaining—your own timeless retreat right outside your door. Taking the time to properly lay garden slabs means you’ll enjoy a durable and attractive patio that enhances your garden’s look. With these simple steps, your garden slabs will provide a solid foundation for years of enjoyment. Whether you’re hosting friends or enjoying quiet moments, your new patio will be the perfect spot to unwind. So get ready to transform your outdoor area with confidence and ease!