How to Build a Garden Room in 7 Simple Steps
To build your garden room in seven simple steps, start by choosing a practical location. Think about where it will best serve your needs and complement your outdoor space.
Then, finalize your design based on the room’s purpose, whether it’s a cozy office, a relaxing retreat, or a creative studio.
Next, clear and prepare the site carefully so you have a clean, level area to work with.
After that, lay a solid foundation to ensure your garden room is stable and durable.
Framing the structure comes next—make sure to install doors and windows precisely for both function and style.
Once the frame is up, plan and install electrical and heating systems to keep the space comfortable year-round.
Don’t forget to insulate and weatherproof the room well so it stays cozy no matter the season.
Finally, finish the interior walls with trim and complete the exterior landscaping with your personal touches.
Keep exploring each step, and watch your garden room really come to life!
Key Takeaways
– Choose a practical location with good views, access, and compliance with zoning rules for your garden room.
It’s important to pick a spot that you’ll enjoy and that meets local regulations.
– Prepare the site by clearing vegetation and installing a stable foundation below the frost line.
This helps make sure your garden room stays sturdy through all seasons.
– Frame the structure using pressure-treated lumber, ensuring accurate measurements and proper insulation.
Taking your time here means a better fit and a more comfortable space.
– Install electrical and heating systems safely with professional help and necessary permits.
Don’t try to do this part on your own unless you’re experienced—it’s best to leave it to the pros.
– Enhance the garden room with native plants, pathways, and outdoor features for aesthetics and functionality.
Adding these touches makes the space feel welcoming and connected to your garden.
Select Location and Finalize Garden Room Design
When selecting the location for your garden room, prioritize spots that offer great views and easy access while complying with local zoning rules. Avoid areas near large trees or water sources to reduce risks of damage and flooding.
Choose garden room locations with scenic views and easy access, steering clear of large trees and water hazards.
Once you choose the location, focus on your garden room’s design based on its intended use. If you want a bright workspace, include large windows to maximize natural light and enhance the view. For a relaxation nook, you might opt for cozy layouts with smaller window spaces.
Keep the size practical—typically between 12 m² and 25 m²—to meet your needs without needing extra permissions. Your design should also consider materials that suit your climate and aesthetic preferences.
Detailed drawings will help you stay on track when building your perfect garden room. It’s a good idea to have these ready before you start construction.
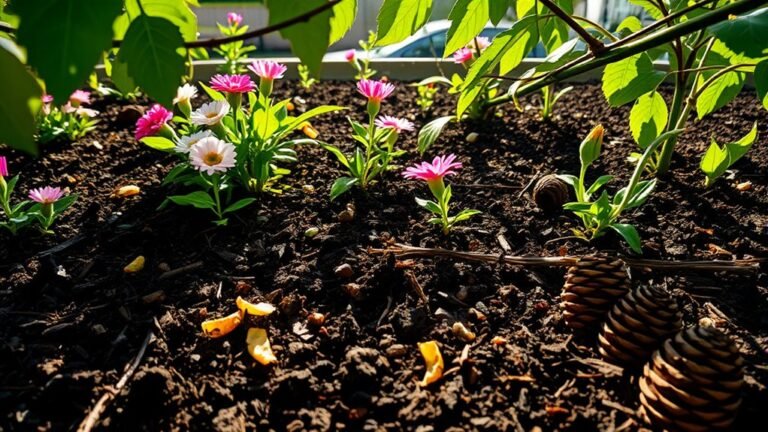
Prepare Site and Build Garden Room Foundation
After finalizing your garden room’s design and location, it’s time to prepare the site and lay a strong foundation. Start by clearing the area of vegetation, rocks, and debris to create a level surface.
Use stakes and string to mark the garden room’s exact dimensions, guaranteeing an accurate layout. Dig the foundation at least 6 inches below the local frost line to prevent shifting over time.
Choose a suitable foundation type, like concrete piers or a slab, to provide a solid base that supports your structure and manages moisture. If your site struggles with water pooling, consider installing a French drain to improve drainage.
Taking these steps helps assure your garden room stands on a stable, well-prepared base. It might seem like extra work now, but it really pays off in the long run!
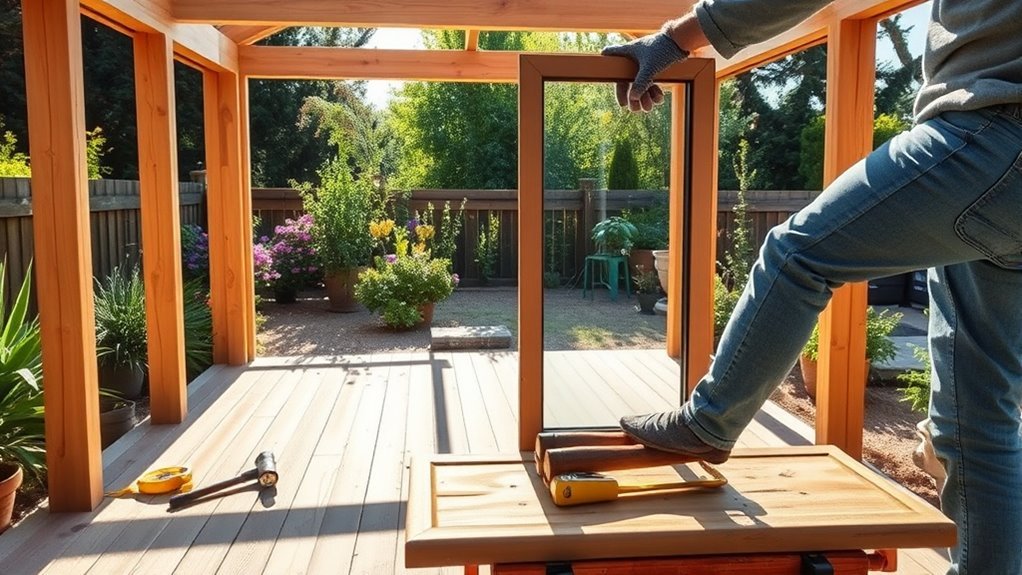
Build Garden Room Frame and Install Doors and Windows
Start building your garden room frame with pressure-treated 2×4 lumber, spacing the studs between 400 and 600mm to guarantee strength and stability. Focus on precise framing to create a solid structure.
When you build doors and windows openings, follow these steps:
- Measure and frame openings accurately according to manufacturer specs, ensuring proper alignment and support.
- Check each corner is square and level by verifying diagonal measurements to maintain structural integrity.
- Seal all gaps around doors and windows with caulking to prevent air and water infiltration, improving insulation.
After framing, install exterior sheathing like plywood or OSB to provide a durable base for insulation and finishing. Proper framing and careful installation of doors and windows are key to a sturdy, weatherproof garden room.
Plan Electrical and Heating Systems for Your Garden Room
Although planning electrical and heating systems might seem complex, careful preparation guarantees your garden room stays comfortable and functional year-round.
To plan electrical systems, start by digging an 18” trench for wiring to your main panel and make sure you follow local building codes. Hire a qualified electrician to install lights, outlets, and switches strategically based on your floor plan.
Don’t forget to pull the necessary permits to meet safety standards.
For heating options, consider an air-source heat pump that offers both heating and cooling efficiently. Also, incorporate proper ventilation options like trickle vents or mechanical systems to maintain air quality and prevent moisture buildup.
Thoughtful planning now will save you headaches later and keep your garden room inviting through all seasons.
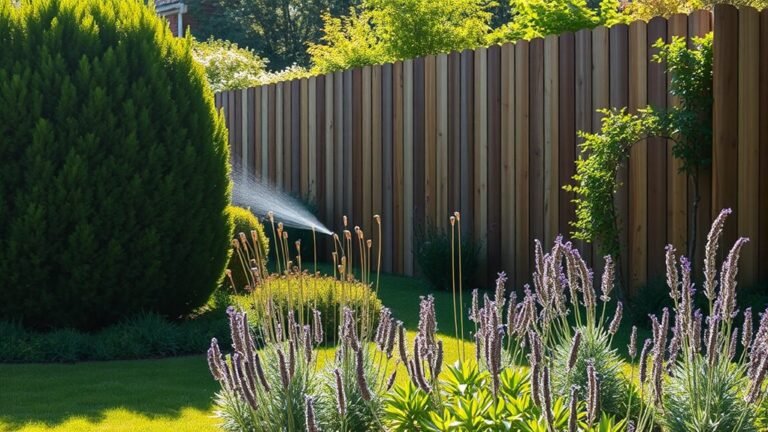
Insulate and Weatherproof Your Garden Room
To keep your garden room comfortable year-round, start by installing exterior insulation. This helps reduce heat loss and stops thermal bridging.
Next, apply an air and water barrier like Tyvek housewrap. It’s great for blocking moisture and drafts.
Finally, fill the interior gaps with fibreglass insulation. This will help maintain consistent thermal regulation inside.
Exterior Insulation Techniques
When you insulate the exterior of your garden room, you create a strong barrier against moisture and temperature fluctuations. This barrier helps protect the structure and keeps things comfortable inside.
To get the most out of your exterior insulation and boost energy efficiency, follow these simple steps:
- Apply rigid foam boards tightly around doors and windows. This helps minimize thermal bridging and cuts down on heat loss.
- Use a baselayer like Tyvek housewrap. It blocks moisture from getting in but still lets your structure breathe.
- Combine different insulation types—fibreglass for the walls and rigid boards for the roof—to get the best thermal performance.
Make sure you regularly check your insulation for any damage. Also, keep drainage working well to avoid moisture buildup.
These exterior insulation techniques will make your garden room more comfortable, protect its structure, and help save energy all year round.
Air and Water Barriers
Building on your exterior insulation efforts, establishing reliable air and water barriers is key to keeping your garden room dry and energy-efficient. Start by installing a baselayer of Tyvek housewrap to block moisture and improve insulation.
Next, seal all openings around doors and windows with caulk or weather stripping to maintain the integrity of these barriers. This prevents drafts and water ingress, which can compromise your insulation.
Adding exterior insulation helps reduce thermal bridging, cutting down heat loss and lowering energy bills. Don’t forget fiberglass insulation between studs—it fills gaps and adds soundproofing for comfort.
Finally, regularly inspect and maintain your air and water barriers to extend your garden room’s lifespan and keep it protected against weather. These steps guarantee your building a garden room project stays energy-efficient and weatherproof.
Interior Thermal Insulation
Although exterior insulation plays an essential role, you’ll need to focus on interior thermal insulation to keep your garden room comfortable year-round. Proper insulation balances interior and exterior elements, especially if your design includes plenty of natural light.
Remember, some garden rooms may require Planning Permission, so check local regulations before starting.
Follow these key steps:
- Use fibreglass insulation between wall and ceiling studs, ensuring at least 100mm thickness in the roof for effective heat retention.
- Seal all gaps around doors and windows to prevent drafts and maintain insulation integrity.
- Consider mineral wool or rigid foam for walls to enhance thermal performance and moisture resistance.
These measures will help you create a cozy, energy-efficient garden room that stands up to all seasons.
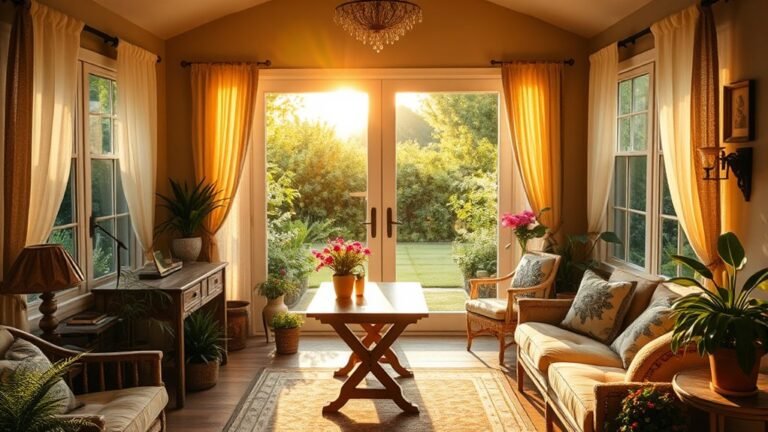
Finish Interior Walls and Add Trim
Since the drywall is up, you’ll want to secure it with screws spaced 12 inches apart, creating a smooth surface ready for finishing. Next, apply joint compound to seams and screw holes, then sand the walls to achieve a seamless finish.
This preps the space perfectly to finish interior walls with primer and paint.
Now, select trim materials like baseboards and crown molding to boost your garden room’s aesthetic appeal. MDF and real wood are durable options that you can paint or stain to match your design.
Attach trim using finishing nails, then seal gaps with caulk for a polished look. Remember to guarantee proper ventilation while painting and allow each coat to dry thoroughly for a flawless finish on both walls and trim.
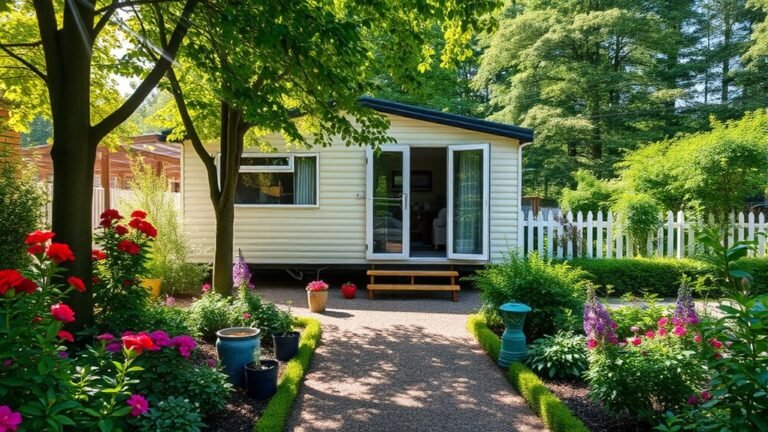
Complete Exterior Landscaping and Add Personal Touches
Now it’s time to enhance your garden room’s surroundings by choosing native plants and creating inviting pathways. You can customize the space with decorative features like trellises or outdoor lighting to match your style.
Adding a deck or patio nearby will make your garden room even more functional and enjoyable. It’s all about making the area feel welcoming and truly yours.
Enhancing Garden Aesthetics
When you complete the exterior landscaping around your garden room, you create a seamless passage that enhances both the structure and its surroundings.
To boost your garden room’s appeal and maximize your outdoor space, focus on enhancing garden aesthetics with these key steps:
- Plant a mix of flowering perennials and ornamental grasses to add color and texture that complements the garden room’s design.
- Install natural stone or brick pathways leading to the entrance, creating an inviting and clear route.
- Add a wooden deck or patio area, extending usable space for relaxation and socializing.
Customizing Outdoor Features
Completing the exterior landscaping around your garden room gives you the perfect opportunity to add personal touches that reflect your style and improve functionality. When customizing outdoor features, start by integrating native plants to boost biodiversity and reduce maintenance. This creates a garden that naturally complements your space.
Lay a pathway with permeable materials like gravel or stepping stones, ensuring proper drainage and a welcoming entrance. It’s a simple way to make your garden room more inviting.
Add finishing touches such as weather-resistant outdoor seating, trellises, or garden sculptures to enhance both comfort and visual appeal. You might also consider building a small patio or deck adjacent to your garden room to extend your living area outdoors.
These thoughtful customizations not only improve usability but also make your garden room a true reflection of your personality and lifestyle. It’s all about creating a space that feels like you.
Frequently Asked Questions
How to Build a Simple Garden Room?
You’ll start by picking a sunny spot with good drainage, then clear and mark the area. Next, build a sturdy timber frame, insulate it properly, and finish with drywall, paint, and electrical outlets for comfort and use.
Is It Cheaper to Buy or Build a Garden Room?
If you build your garden room yourself, like Jane who saved 40%, it’s usually cheaper. But if you want convenience and warranties, buying a prefab model might cost more upfront but save time and stress.
How to Build a Room Step by Step?
You start by planning and checking regulations, then clear and prepare your site. Next, build a solid foundation, frame the walls, install insulation and drywall, and finish with utilities and interior touches for a comfy, functional room.
Do You Need Airflow Under a Garden Room?
Yes, you need airflow under a garden room to prevent moisture buildup and mold. You should install vents or elevate the foundation to promote circulation, keeping the structure dry and extending its lifespan.
Conclusion
Building your garden room in these seven simple steps makes the process manageable and rewarding. Did you know that 65% of homeowners report increased property value after adding a garden room? It’s a smart investment that adds both charm and function to your home.
Start by selecting the perfect location and ensuring solid foundations. These two steps are crucial for creating a sturdy and long-lasting structure. Then, finish with your personal style to make the space truly your own.
With careful planning and attention to detail, your new garden room will be a favorite spot for years to come. This versatile space can serve as an office, studio, or relaxing retreat. By following these steps, you’re not only building a garden room but also enhancing your lifestyle and home’s overall appeal.