How to Level Your Garden in 7 Easy Steps
To level your garden in 7 easy steps, start by identifying and marking uneven spots in your garden. This helps you know exactly where adjustments are needed.
Then, clear away any debris and aerate the soil to improve drainage and root health.
Next, grade your garden with a slight slope away from structures to prevent water pooling. Fill in any low areas and smooth out the high spots for a balanced surface.
Make sure to compact the soil firmly, but don’t overdo it, or the soil might become too hard.
After that, reseed the bare areas or lay fresh sod to give your garden a lush, even look.
Finally, keep an eye on soil settling over time and adjust as needed to maintain a beautifully level garden.
Stick with these simple steps, and you’ll master the art of leveling your garden in no time!
Key Takeaways
- Identify uneven spots, mark them, and clear debris to prepare the garden surface for leveling.
- Grade the garden to create a slight slope away from structures and fill low spots with soil layers.
- Compact the soil gently for stability, avoiding over-compaction to maintain proper aeration.
- Seed or sod the lawn evenly and keep soil moist to promote strong root growth.
- Monitor and adjust soil levels regularly to prevent new low spots and maintain proper drainage.
Identify and Mark Uneven Spots in Your Garden
Before you begin leveling your garden, walk around and carefully inspect it for dips, rises, and areas where water pools after rain. Pay special attention to any low spot where water tends to collect, as these indicate uneven ground that needs addressing.
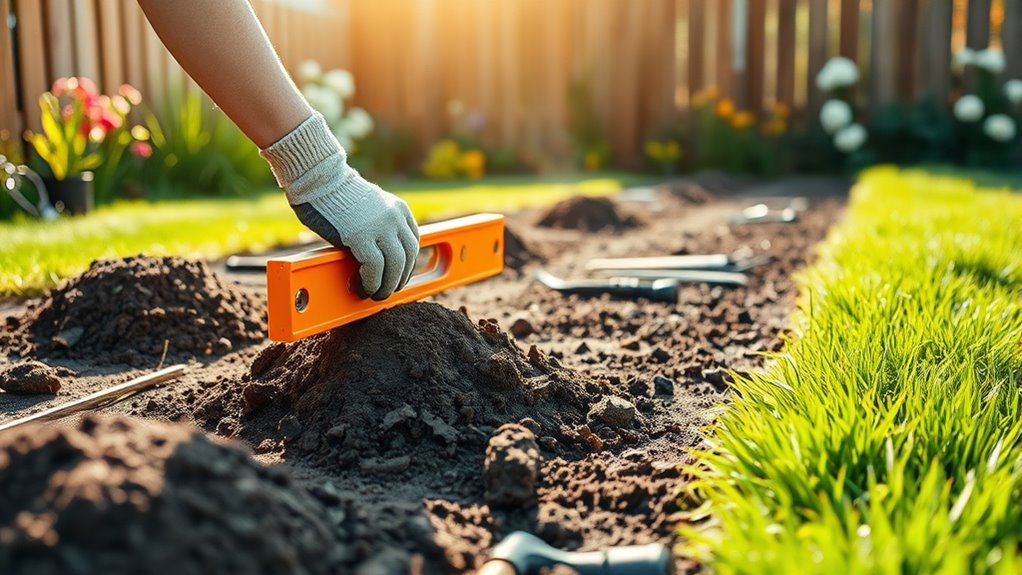
Use stakes or flags to mark these low spots and any high areas, giving you a clear visual map of the garden’s contours. Next, measure the slope with a level or straightedge to check if any negative slopes channel water toward your home.
Note the size and depth of each uneven spot—this info helps you estimate the soil or material required to fix them. Make it a habit to reassess your garden after heavy rain to catch new low spots early.
Clear Debris and Aerate the Soil Surface
Start by removing any rocks, sticks, and debris from your garden to create a clean surface for leveling.
Next, mow your grass lower than usual so you can spot uneven areas more easily.
Finally, use tools like trowels or garden spikes to aerate the soil, breaking up compacted layers for better settling and drainage.
Removing Lawn Debris
Clear away rocks, sticks, and other debris to create a smooth surface for leveling your garden. Start by removing larger items first, as this gives you better access to the soil and makes aeration easier.
Once the debris is cleared, aerate the soil using a trowel or garden spikes, especially if the ground feels hard or compacted. Aeration helps new soil settle evenly and improves drainage, which is key for healthy grass growth.
Regularly aerating your lawn also boosts soil structure and moisture retention. By keeping the surface clear and aerated, you’ll make the leveling process much more effective and guarantee a healthier, more even garden base.
Lowering Mowing Height
Lowering your mowing height to about 2 inches reveals uneven spots in your lawn more clearly, making it easier to spot dips and rises. This helps you identify where to add soil or make adjustments.
Before mowing, clear debris like rocks and sticks to protect your mower and guarantee a smooth cut.
After mowing low, aerate the soil surface using garden spikes or a trowel to break up compacted ground. This improves drainage and helps new soil settle better, promoting healthier grass growth.
Soil Aeration Techniques
To prepare your lawn for effective aeration, removing rocks, sticks, and other debris is essential. This clears the area, improving visibility of uneven spots and making aeration easier.
Mow your lawn lower than usual to spot hidden dips and rises. That way, you won’t miss any trouble spots. Focus aeration on compacted areas using tools like trowels or garden spikes to create 1-3 inch holes spaced 4-6 inches apart.
Proper aeration boosts drainage and encourages strong root growth. It’s a simple step that makes a big difference!
- Clear rocks, sticks, and debris for better visibility
- Mow lower to identify uneven areas
- Use garden spikes or trowels to aerate compacted soil
- Space holes 4-6 inches apart, 1-3 inches deep for best results
Grade Your Garden for Proper Drainage
To guarantee proper drainage, you’ll want to create a slight slope of about a quarter inch per foot away from your house. Walk around your garden to spot any low spots causing water to pool, then use stakes to mark them.
From there, adjust soil levels by moving excess soil from high areas or digging trenches to guide water away. This way, you’ll keep your garden healthy and avoid water damage near your home.
Importance Of Slope
When you grade your garden, make sure there’s a slight slope away from your home—about a quarter inch per foot. This helps water flow properly and protects your foundation.
This small adjustment stops water from pooling and lowers the risk of damage to your lawn and nearby structures. Keeping the right slope is key for good drainage and long-term garden health.
Here’s why slope matters:
- It directs water away from your home to avoid foundation problems.
- It prevents puddles that can harm your lawn and plants.
- It improves soil drainage, which keeps your garden healthier.
- It makes managing water easier, especially during heavy rain.
Be sure to check your garden’s slope regularly. Soil can shift over time, changing drainage patterns and meaning you might need to adjust the slope to keep water flowing right.
Identifying Negative Slopes
How can you tell if your garden’s slope is causing drainage problems? Start by visually inspecting your yard for areas where water pools or flows toward your house. Use stakes and string to mark these spots clearly.
Then, grab a level or straightedge to measure the slope. A proper grade should drop about a quarter inch per foot away from your home. If any section slopes inward, you’ve identified a negative slope that directs water toward your foundation.
Catching this early is key since negative slopes increase flooding risks and foundation damage. By pinpointing these problem areas now, you’ll know exactly where to focus your efforts to improve drainage and protect your property.
Adjusting Soil Distribution
One key step in improving your garden’s drainage is adjusting the soil distribution to create a gentle slope away from your home. Aim for about a quarter inch per foot to guide water flow effectively and avoid pooling near your foundation.
Start by spotting any negative slopes and redistribute soil or dig trenches to divert water properly. Small tweaks can make a big difference in preventing water issues.
Here’s how to adjust soil distribution for proper drainage:
- Use a level or straightedge to guarantee a smooth, consistent slope.
- Add or remove soil gradually to maintain the correct grade.
- Check for high or low spots and even them out.
- Monitor your garden after heavy rain to catch new drainage problems early.
Consistent attention keeps your garden healthy and dry. It’s worth the effort to keep things flowing the right way!
Fill Low Spots and Smooth High Areas
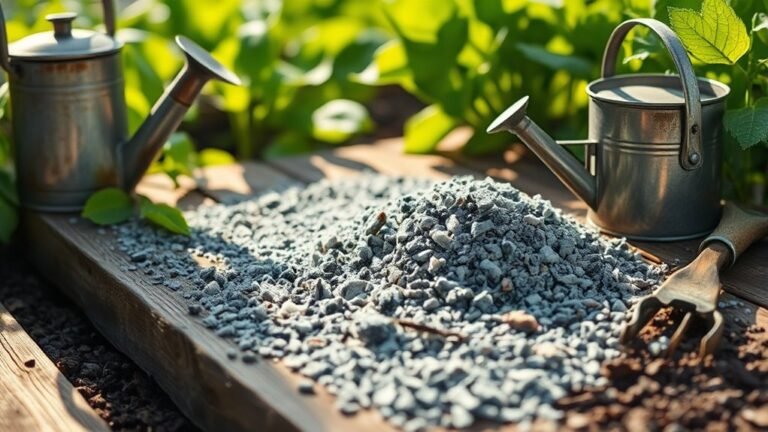
Start by filling low spots with a blend of sand and topsoil, adding it in thin layers to guarantee proper drainage and nutrient retention. Lightly pat down each layer and water it to help the soil settle evenly.
Keep an eye on these areas and add more soil if needed until they’re fully level. For high spots, scrape off the excess soil and redistribute it to low areas, aiming for a smooth, even surface.
Make sure your garden slopes slightly away from structures—about a quarter inch per foot—to prevent water pooling. This gentle grading will help drainage and protect your plants.
Compact Soil Firmly but Avoid Over-Compaction
After leveling your garden by filling low spots and smoothing high areas, it’s important to compact the soil gently to create a stable surface. You want the soil firm enough to prevent settling but still porous enough to allow air and moisture to reach the roots.
Use a lawn roller or simply your foot to apply gentle pressure. Just be careful not to over-compact, because that can hinder root growth and water infiltration.
To compact soil properly:
- Use a lawn roller or foot to apply even, gentle pressure
- Check soil evenness with a long board or straightedge
- Aim for firmness without eliminating soil aeration
- Monitor for hard spots or water pooling and adjust as needed
Finding the right balance helps guarantee healthy grass growth and a level, stable garden base. It’s all about keeping your soil happy and ready for plants to thrive!
Reseed and Maintain Your Leveled Garden
To bring your leveled garden to life, spread grass seed or lay sod evenly across the prepared soil. Water the newly seeded areas gently to avoid displacing seeds, keeping the soil consistently moist for ideal germination.
Apply a thin layer of mulch or straw over the seeds to retain moisture and protect them from birds and pests. Keep the soil damp for the first couple of weeks, as this helps the seeds establish strong roots.
Check the growth regularly, adjusting watering as needed. If you notice tiny dips forming while the grass grows, just add a bit of soil mix to fill them in.
Monitor Soil Settling and Adjust as Needed
While your garden may look perfectly level at first, soil settling can create low spots over time. So, you’ll want to check regularly using a long board or straightedge.
After leveling, water the soil lightly to help it compact properly. Then, monitor it closely in the following weeks.
Keep an eye out after heavy rain for puddles. Those are signs that certain areas might need some adjustment.
When you spot dips, gradually fill them with soil or a soil-sand mix. This helps keep the surface even and avoids drainage problems.
- Use stakes or flags to mark spots requiring further attention.
- Check the surface weekly for any new low areas.
- Lightly water after adding soil to encourage settling.
- Adjust soil as needed to maintain a smooth, level garden.
Frequently Asked Questions
What Is the Quickest Way to Level a Garden?
The quickest way to level your garden is to fill low spots with a topsoil and sand mix in thin layers, then use a lawn roller to compact it evenly, creating a firm surface ready for grass growth.
How to Level a Very Uneven Garden?
Struggling with a very uneven garden? You’ll want to clear debris first, then fill low spots gradually with soil and sand, scraping down high areas. Don’t forget to water between layers for proper settling and smoothness.
How Do I Level up My Garden?
You level up your garden by identifying uneven spots, clearing debris, filling low areas with soil mix, scraping high spots flat, and compacting lightly. Use a straightedge to check evenness and guarantee proper drainage away from structures.
What’s the Easiest Way to Level Your Yard?
The easiest way to level your yard is by filling low spots with a sand and topsoil mix, scraping high spots, then compacting gently. Mark uneven areas first, clear debris, and water each layer as you go.
Conclusion
Just like a skilled artist refines their canvas, leveling your garden takes patience and care. By following these steps, you’re not just flattening soil—you’re creating a foundation where your plants can thrive and your outdoor space can truly flourish.
Keep an eye on your garden as it settles, and don’t hesitate to make adjustments. With a little attention, your garden will become a masterpiece of nature’s balance and beauty.
Remember, leveling your garden is key to healthy plant growth and a beautiful landscape. It helps with proper drainage, prevents soil erosion, and makes maintenance easier. So, take your time with these steps, and soon you’ll enjoy a perfectly leveled garden that enhances your outdoor living experience and boosts your home’s curb appeal. Your garden’s success starts with a solid, level foundation!