How to Build a Garden Gate in 3 Simple Steps
To build a garden gate in three simple steps, start by gathering durable wood, hinges, a latch, screws, and essential tools like a saw and drill. These materials are key for constructing a sturdy and reliable garden gate. Preparing your workspace beforehand will make the process smoother and more efficient.
Next, assemble the gate frame on a level surface, ensuring all joints are securely fastened. Attach the panels evenly, leaving space for wood expansion to prevent future warping. This careful assembly helps maintain the gate’s durability and appearance over time.
Finally, install the hinges and latch, then mount the gate to the post. Adjust the hardware to ensure smooth operation and proper alignment. If you want a detailed guide to guarantee a sturdy, weatherproof gate, keep exploring the steps.
Get Your Materials and Tools Ready for Your Garden Gate
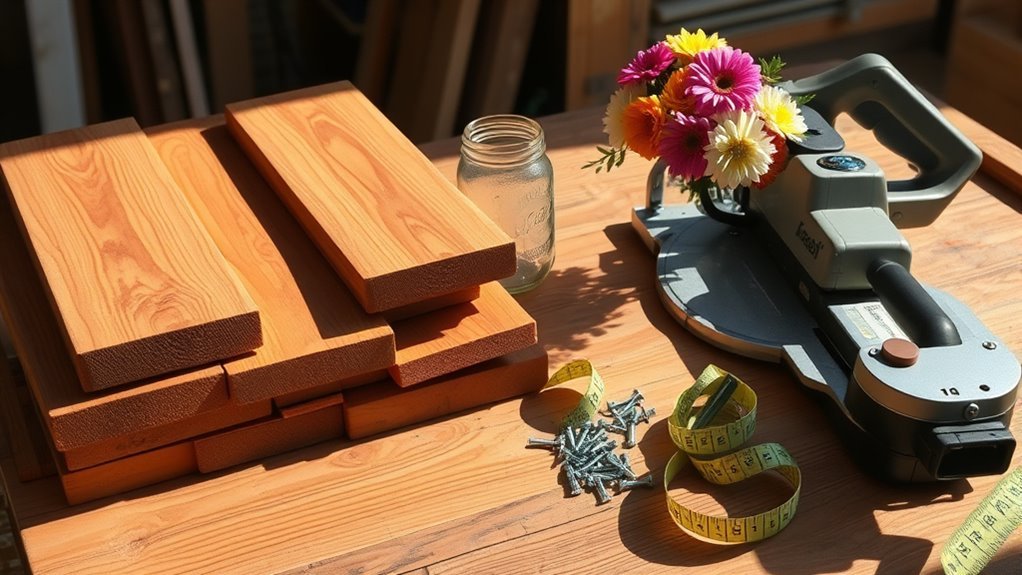
Before you begin building your garden gate, gather all the necessary materials and tools to guarantee a smooth process. You’ll need sturdy wood like cedar or redwood for durability and resistance to weather. Grab quality hinges, a latch, screws, and wood glue to secure everything properly.
Don’t forget sandpaper to smooth the edges and paint or sealant to protect your gate from the elements. For tools, have a saw, drill, screwdriver, measuring tape, level, and clamps ready.
Preparing these items beforehand saves you from interruptions and frustration during construction. By organizing your materials and tools in advance, you set yourself up for a more efficient and enjoyable building experience. This preparation is the key to creating a gate that lasts and functions perfectly.
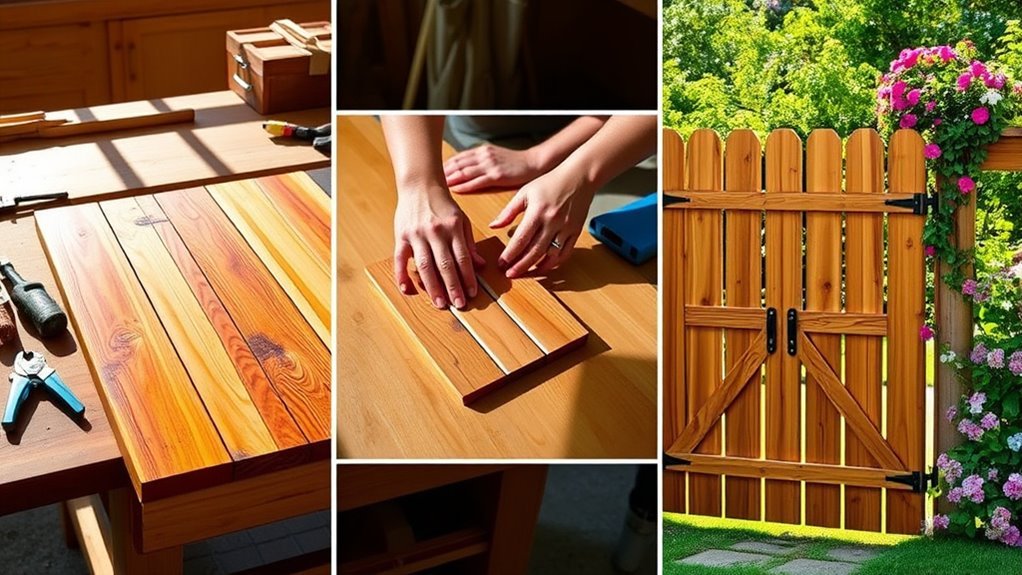
Build Your Garden Gate Frame and Attach Panels
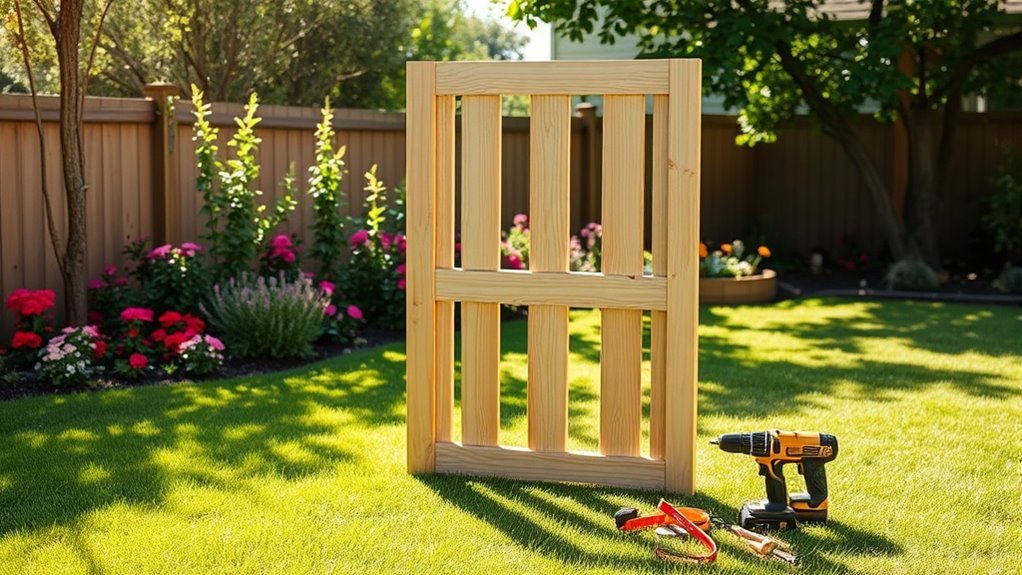
Once you have your materials ready, start by assembling the gate frame using your measured pieces of wood. Lay the frame flat on a level surface, ensuring corners align perfectly. Secure the joints with wood screws or nails, using clamps to hold pieces steady as you work.
Next, attach the panels to the frame. Position each panel evenly, leaving small gaps for wood expansion if using natural wood. Fasten the panels with screws or nails, driving them through the frame into each panel securely.
Check that everything stays square and tight as you go. Sand any rough edges for a smooth finish.
This solid frame and panel assembly will provide the sturdy base your garden gate needs before you move on to installing hinges and latches.
Install Hinges and Latch, Then Mount Your Garden Gate
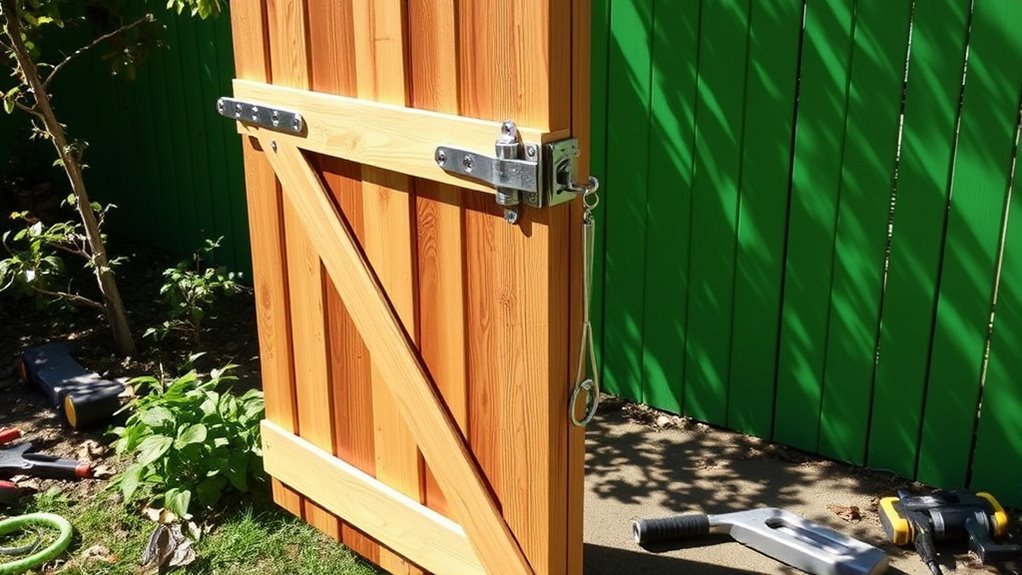
With your gate frame and panels securely assembled, you can now attach the hinges and latch to bring your garden gate to life. Start by positioning the hinges on the gate edge, aligning them evenly and marking screw holes. Pre-drill holes to prevent wood splitting, then secure the hinges with screws.
Next, attach the latch on the opposite side, ensuring it aligns properly with the gate post for smooth operation.
Once hardware is installed, lift the gate into place and hold it steady. Check for level and proper clearance at the bottom.
Secure the hinges to the gate post with screws, making adjustments as needed for easy swinging.
Finally, test the latch and swing to confirm your gate opens and closes effortlessly.
Frequently Asked Questions
What Type of Wood Is Best for a Garden Gate?
You’ll want to use cedar or redwood for your garden gate because they resist rot and insects well. They’re durable, lightweight, and look great outdoors.
Pressure-treated pine is budget-friendly but needs sealing to last longer.
How Can I Weatherproof My Garden Gate?
Think of your gate as a brave knight against rain and sun. Seal it with waterproof paint or stain, add a weatherproof sealant, and install protective hardware.
You’ll keep it strong through every storm’s dance.
Can I Build a Garden Gate Without Power Tools?
Yes, you can build a garden gate without power tools. You’ll just need patience and hand tools like a saw, hammer, and screwdriver.
Taking your time guarantees precise cuts and sturdy assembly without electricity.
What Is the Average Cost to Build a Garden Gate?
Building your garden gate is like planting a tree—you invest to see it grow.
You’ll typically spend between $100 and $300, depending on materials and size, but careful choices will keep your costs beautifully rooted.
How Do I Maintain My Garden Gate Over Time?
You should regularly clean your gate, check for loose screws or hinges, and apply a protective sealant or paint to prevent weather damage.
Lubricate moving parts and fix any damage promptly to keep it functioning smoothly over time.
Conclusion
Now that you’ve built your garden gate in just three simple steps, you’re ready to transform your garden’s entrance into the grandest welcome ever seen!
With your frame sturdy, panels attached, and hinges and latch perfectly installed, your gate will stand strong against anything—rain, wind, or even a small tornado.
You’ve done an amazing job, and your garden is ready to shine with this beautiful new addition.
Get ready to enjoy endless compliments on your DIY garden gate and the charming curb appeal it brings to your outdoor space!