How to Slab a Garden in 5 Simple Steps
To slab your garden in five simple steps, start by choosing durable, budget-friendly materials like concrete or natural stone. These popular garden slabs offer both strength and aesthetic appeal, making them ideal for outdoor spaces.
Next, clear and level the area, removing debris and ensuring the ground is flat. This preparation is crucial for a stable foundation that will prevent shifting over time.
Then, lay a solid, compacted base with sharp sand or crushed stone topped by a mortar layer. This base supports the slabs and enhances durability.
Carefully position your slabs, checking alignment with a level. Proper placement ensures an even surface and a professional finish.
Finally, seal and maintain the slabs to protect them. Keep going to uncover tips for a flawless finish and long-lasting results.
Choose Materials for Your Garden Slabs
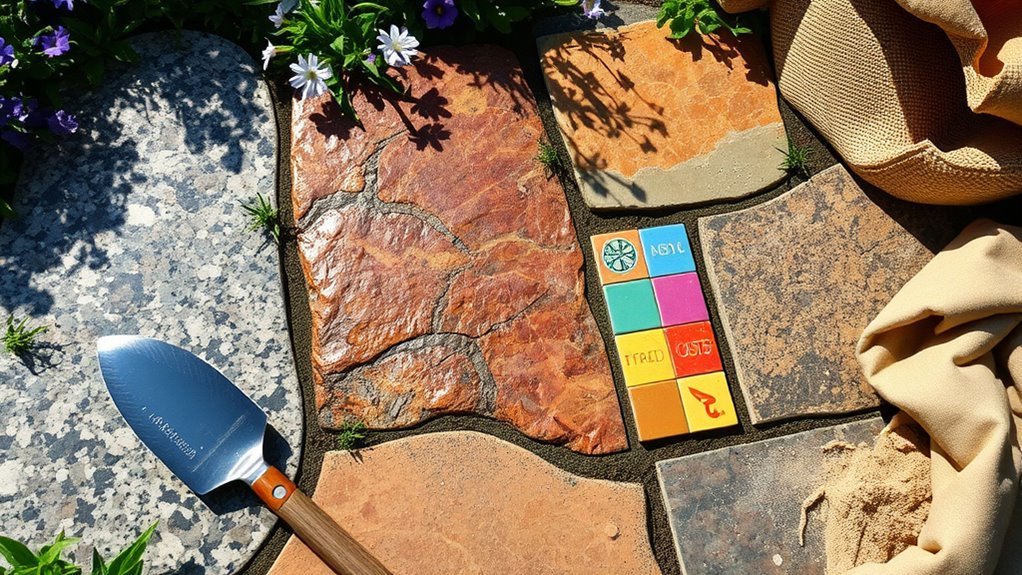
When choosing materials for your garden slabs, consider durability, appearance, and budget. You want slabs that withstand weather changes without cracking or fading.
Concrete slabs offer strength and affordability, making them a popular choice.
If you prefer a natural look, natural stone slabs like sandstone or slate add timeless beauty but may cost more.
Porcelain slabs provide a sleek, modern finish and resist stains, though they can be pricier.
Think about the color and texture too; lighter shades reflect heat, while rough textures reduce slipping.
Also, factor in maintenance—some materials need sealing or cleaning more often.
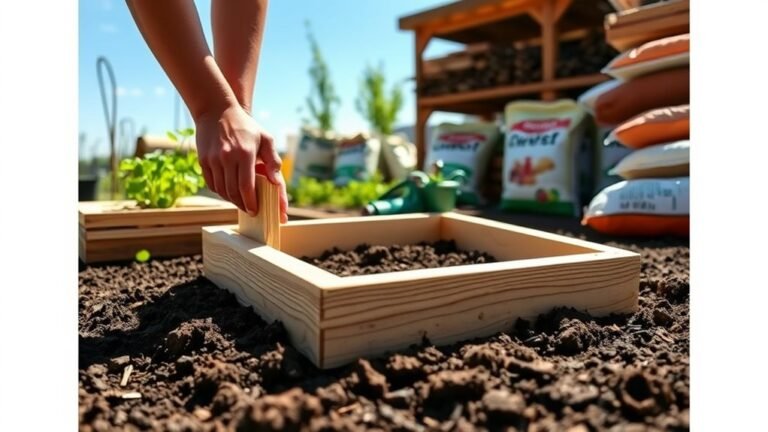
Clear and Level Your Garden Area for Slabbing

After selecting the right materials for your garden slabs, the next step is to prepare the area where you’ll lay them. Start by clearing the space of any plants, roots, rocks, or old paving. Remove debris thoroughly to create a clean working surface.
Begin by clearing all plants, roots, rocks, and old paving to ensure a clean, ready surface.
Next, use a spade to dig out the soil to the depth your slabs and base will require. As you dig, keep the edges straight and the surface as even as possible.
Once you’ve removed the soil, check the ground’s level with a spirit level or a string line stretched between stakes.
If there are uneven spots, add or remove soil to achieve a flat, consistent surface. Taking the time to clear and level properly guarantees your slabs will sit firmly and look professional.
Lay a Solid Base for Your Garden Slabs
To guarantee your garden slabs stay stable and level, you need to lay a solid base beneath them. Start by digging down about 100mm to remove any loose soil and roots.
Next, add a layer of sharp sand or crushed stone to create a firm, well-draining foundation.
Compact this layer thoroughly using a tamper or a heavy board to prevent future sinking.
After that, spread a 50mm layer of mortar or cement mix over the compacted base to lock everything in place.
Smooth it out evenly, ensuring a flat surface for your slabs.
Taking these steps will help your slabs resist movement caused by weather or ground shifts, giving your garden a durable and professional finish.
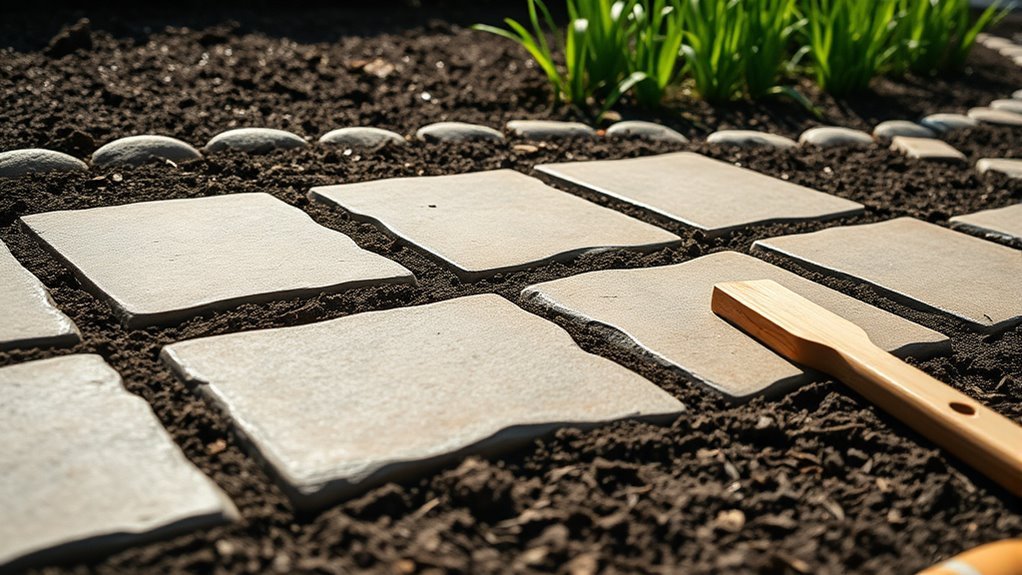
How to Lay Your Garden Slabs the Right Way
Although preparing the base is essential, you’ll only see the full benefits once you lay your garden slabs correctly.
Start by placing the first slab at a corner or edge, ensuring it sits firmly on the base without rocking. Use a spirit level to check it’s perfectly horizontal.
Lay each subsequent slab tightly against the previous one, maintaining consistent spacing if you plan to grout. Tap slabs gently with a rubber mallet to secure them and adjust their position.
Check alignment regularly to keep straight lines and a neat pattern.
Don’t rush—take your time to avoid uneven surfaces or gaps. Properly laid slabs not only look great but also provide a stable, durable surface for your garden paths or patios.
Finish and Maintain Your Garden Slabs
How do you guarantee your garden slabs stay looking great and last for years? Start by sealing them with a quality stone sealant to protect against stains and weather damage. Apply the sealant evenly and allow it to dry thoroughly.
Next, regularly sweep away dirt and debris to prevent buildup, which can cause staining and moss growth. After heavy rain or frost, check for any loose slabs and reset them promptly to avoid accidents.
For stubborn moss or algae, use a gentle cleaner designed for garden slabs, avoiding harsh chemicals that can damage the surface.
Finally, inspect your slabs seasonally, addressing cracks or chips quickly to prevent further deterioration.
With these simple steps, your garden slabs will stay beautiful and durable for a long time.
Frequently Asked Questions
Can I Slab a Garden by Myself or Do I Need a Professional?
You can slab a garden by yourself if you have basic DIY skills and the right tools.
However, if you’re unsure about leveling or drainage, hiring a professional guarantees a durable, even finish without future problems.
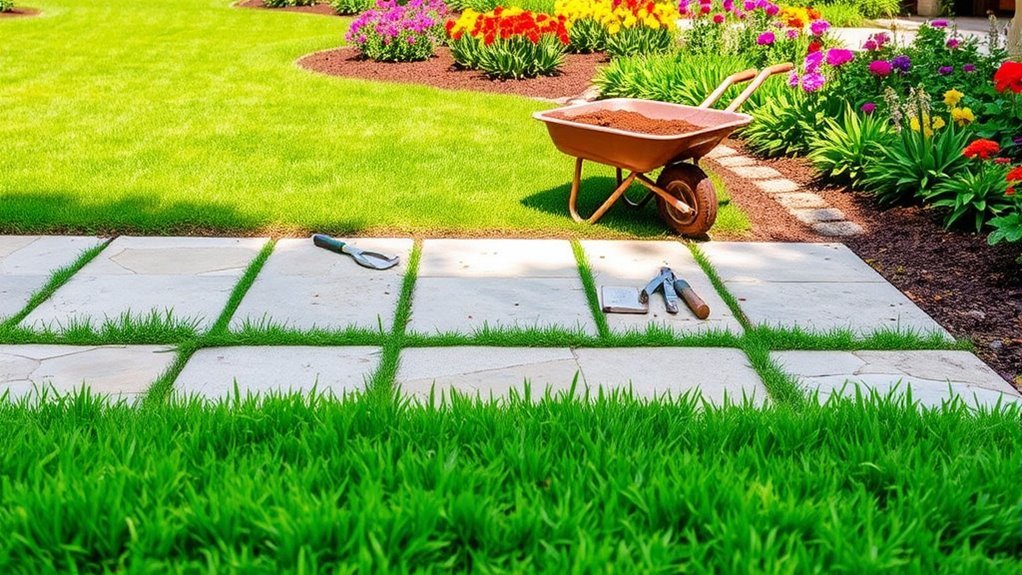
What Tools Are Essential for Slab Laying?
Tools you can’t live without include a spirit level, trowel, rubber mallet, shovel, and wheelbarrow. They’re your garden’s best friends, making sure slabs lay perfectly flat and firmly in place without any guesswork or hassle.
How Long Does the Entire Slab Laying Process Usually Take?
The entire slab laying process usually takes a full day, sometimes two, depending on your garden size and preparation. You’ll spend time digging, leveling, laying slabs, and allowing mortar or concrete to set properly before use.
Each step requires careful attention to detail to ensure a solid and even surface. Weather conditions can also affect the time needed for the mortar or concrete to dry completely.
Are There Eco-Friendly Slab Options Available?
Yes, you can choose eco-friendly slabs like recycled concrete, permeable pavers, or natural stone. These options reduce environmental impact, improve drainage, and often use sustainable materials, so you’ll create a greener, more sustainable garden space.
Can Garden Slabs Increase My Property Value?
Yes, garden slabs can boost your property value by enhancing curb appeal and creating functional outdoor spaces. Choosing stylish, durable slabs shows care for your home, making it more attractive to potential buyers and increasing its market worth.
A well-laid garden slab area provides a versatile space for relaxation or entertainment, which adds practical appeal. This improvement can set your property apart in a competitive market, potentially leading to a higher sale price.
Conclusion
By laying each slab, you’re not just crafting a path—you’re planting the foundation for memories and moments to come. Like each stone in a mosaic, your effort shapes the story of your garden, turning bare earth into a canvas of comfort and beauty.
Keep tending your slabs with care, and watch how your garden walkway becomes a symbol of growth, patience, and the joy of creating something truly yours. With proper garden slab installation and regular maintenance, your outdoor space will thrive.
Embrace the process of how to slab a garden, and transform your yard into a stunning retreat that reflects your personal style and dedication.