How to Fill Raised Garden Beds in 10 Essential Steps
To fill raised garden beds in 10 essential steps, start by clearing the area and removing weeds. Proper preparation is key to a successful garden, so measure and set up your bed frame level and secure. This foundation ensures stability and longevity for your raised bed.
Next, layer small branches, leaves, and grass clippings to create drainage. This base helps prevent waterlogging and encourages healthy root growth. After that, add a nutrient-rich mix of topsoil and compost to nourish your plants.
Lightly tamp and water the soil to help it settle and activate nutrients. Consistent moisture is important to kickstart plant growth. Maintain soil health with regular amendments and thoughtful planning to keep your garden thriving long-term.
Follow these basics, and you’ll soon discover how to keep your garden thriving with ease and success.
Prepare Your Raised Bed Site
Before you fill your raised bed, make sure you choose a location that gets plenty of sunlight and has good drainage. You want your plants to thrive, so pick a spot that receives at least six hours of direct sun daily. Avoid areas where water tends to pool after rain, as soggy soil can harm roots.
Also, consider accessibility—you’ll want to reach your bed comfortably for planting, watering, and harvesting. If possible, position your raised bed near a water source to make irrigation easier.
Check for nearby structures or trees that might cast shade or compete for nutrients.
Clear The Area And Remove Weeds

Once you’ve chosen your site, clear the area thoroughly to give your raised bed the best start. Remove all weeds, grass, and debris to prevent competition with your plants. Pull out roots completely to stop regrowth.
You can use a hoe or hand tools for precision. Clearing guarantees your bed stays weed-free longer and supports healthy root development.
| What to Remove | Why It Matters |
|---|---|
| Weeds | Compete for nutrients and water |
| Grass | Spreads quickly under soil |
| Roots | Regrow if left behind |
| Debris (rocks, sticks) | Obstruct plant roots |
Take your time with this step—it sets the foundation for a thriving garden bed.
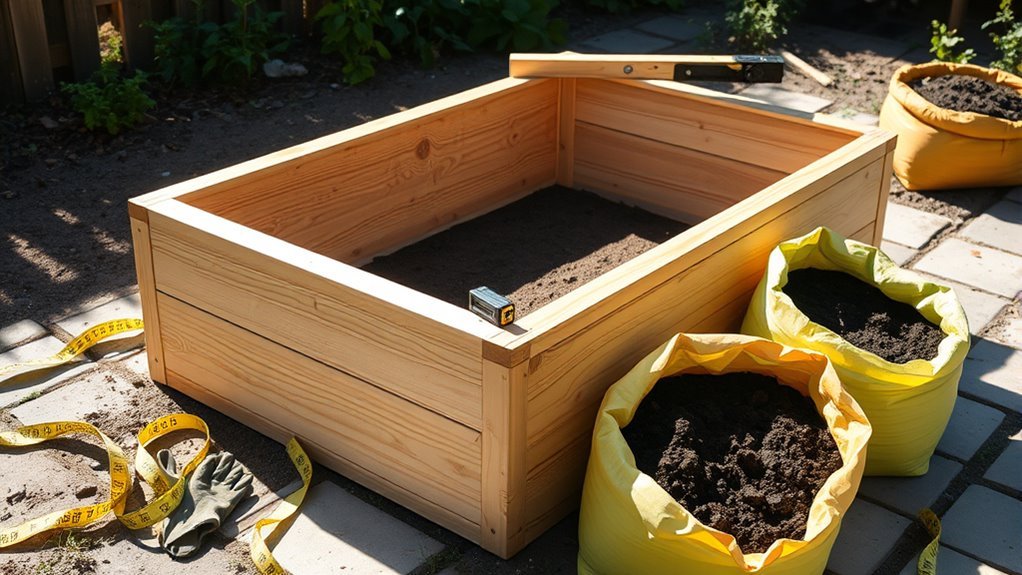
Measure And Get Your Bed Frame Ready
Clearing the area and removing weeds sets a solid foundation for your raised garden bed.
Now, measure the space to verify your bed frame fits perfectly. Use a tape measure to check the length and width, keeping in mind the accessibility from all sides—typically, beds are 3 to 4 feet wide for easy reach.
Mark the corners with stakes or spray paint to visualize the layout.
Next, assemble or position your bed frame according to these measurements. Make sure it’s level by checking with a carpenter’s level or a simple straight board and a small level.
A stable, level frame prevents soil erosion and uneven plant growth.
Once your frame is ready and secure, you’re set to move onto filling it with the perfect soil mix.
Choose The Right Soil Mix For Your Plants
When you choose the right soil mix for your raised garden bed, you give your plants the best chance to thrive. Start with a balanced blend of topsoil, compost, and organic matter to provide nutrients and structure.
Aim for a mix that drains well but retains moisture, ensuring roots get enough air and water.
Avoid heavy clay soils, as they can suffocate roots and cause waterlogging.
If you’re growing specific plants, tailor the mix to their needs—succulents prefer sandy soil, while vegetables thrive in loamy textures rich in organic content.
Test the pH level and adjust it if necessary to suit your plants.
Layer Organic Materials For Drainage
Start by layering organic materials at the bottom of your raised garden bed to improve drainage and prevent water from pooling. This base layer facilitates excess water flow away from plant roots, reducing the risk of rot and promoting healthy growth. Use coarse, bulky materials that create air pockets and allow water to pass through easily.
Layer organic materials at the bottom to enhance drainage and keep plant roots healthy and rot-free.
Here’s what to do:
- Add a 2-3 inch layer of small branches or twigs.
- Cover with a 2-inch layer of shredded leaves or straw.
- Sprinkle a thin layer of grass clippings or pine needles.
- Lightly compact the layers to stabilize them without crushing air spaces.
This foundation guarantees your raised bed drains well, setting the stage for fertile soil and thriving plants.
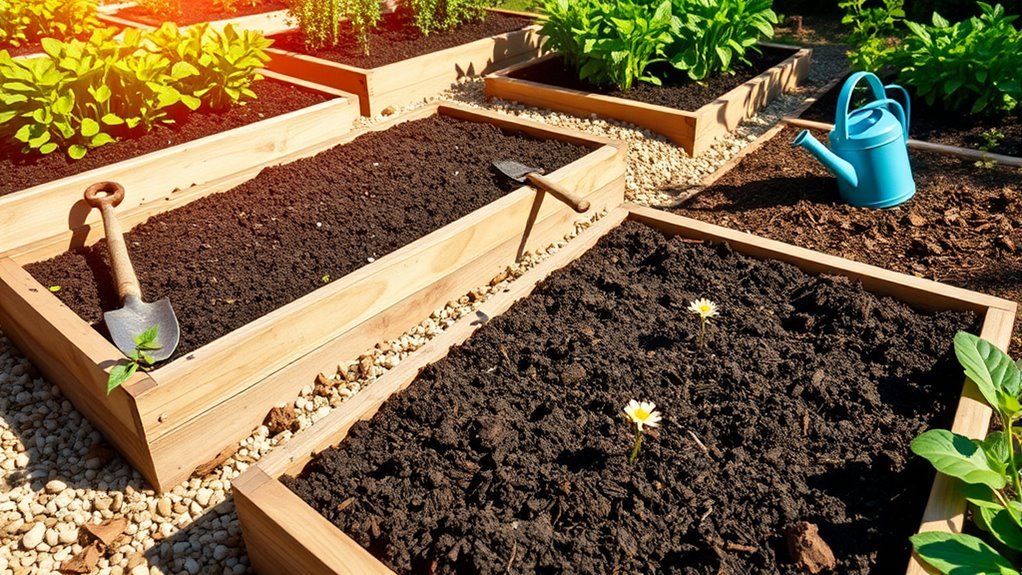
Add High-Quality Topsoil And Compost
Although the drainage layers provide a solid base, you’ll need to add high-quality topsoil and compost to create a nutrient-rich environment for your plants. Topsoil offers structure and minerals, while compost improves moisture retention and feeds beneficial microbes.
Mix these materials thoroughly for even distribution.
| Material | Purpose | Tips |
|---|---|---|
| Topsoil | Provides structure | Choose dark, crumbly soil |
| Compost | Adds nutrients | Use well-decomposed compost |
| Mix Ratio | Balance nutrients & texture | Aim for 60% topsoil, 40% compost |
| Depth | Ensure root growth space | Fill raised bed to 6-8 inches |
| Moisture | Maintain soil health | Water lightly after filling |
This blend creates an ideal growing medium, preparing your raised bed for thriving plants.
Boost Raised Bed Soil With Nutrient Amendments
To maximize your raised bed’s productivity, you’ll want to boost the soil with nutrient amendments tailored to your plants’ needs. These amendments enrich the soil, improving fertility and promoting healthy growth.
Start by testing your soil to identify nutrient deficiencies.
Then, consider adding amendments like:
- Bone Meal for phosphorus, which supports root development and flowering.
- Blood Meal to increase nitrogen, essential for leafy growth.
- Greensand to supply potassium and improve moisture retention.
- Worm Castings for a balanced, slow-release nutrient boost and beneficial microbes.
Mix these amendments thoroughly into your soil before planting. This step ensures your raised bed has a rich nutrient base, setting your garden up for a successful growing season.
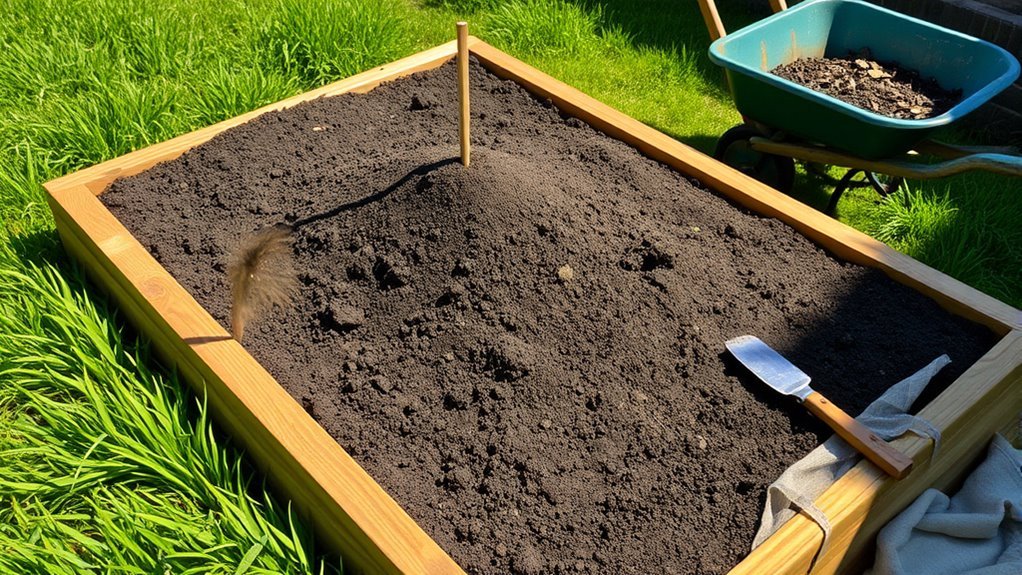
Level And Lightly Tamp Down The Soil
Once you’ve mixed in your nutrient amendments, make certain to level the soil evenly across the raised bed. Use a rake or your hands to spread the soil smoothly, filling any low spots. An even surface ensures water distributes uniformly and roots develop properly.
After leveling, lightly tamp down the soil to remove large air pockets without compacting it too much. You can do this by gently pressing with your hands, a flat board, or the back of a rake. Avoid heavy pressure, as compacted soil restricts root growth and drainage.
This light tamping stabilizes the soil, making it ready for planting while maintaining good aeration. Taking these steps helps create the ideal environment for your plants to thrive.
Water To Settle Soil And Activate Nutrients
After lightly tamping the soil, you’ll want to water it thoroughly to help settle the soil and kickstart the nutrient activation process. Watering guarantees that soil particles compact properly, reducing air pockets and creating a stable base for your plants. It also dissolves nutrients, making them accessible to roots.
Thorough watering after tamping settles soil, eliminates air pockets, and activates nutrients for strong plant roots.
Follow these steps for effective watering:
- Use a gentle spray or soaker hose to avoid disturbing the soil layer.
- Water slowly and evenly to penetrate deeply without runoff.
- Allow the water to soak in fully before adding more to prevent pooling.
- Check for any dry spots and reapply water as needed to maintain consistent moisture.
This process sets your garden bed up for healthy plant growth by activating the soil’s full potential.
Plan Seasonal Soil Maintenance For Raised Beds
Although filling your raised beds with rich soil is essential, maintaining that soil throughout the seasons guarantees your plants thrive year-round. You’ll want to top off your beds each spring with compost or aged manure to replenish nutrients lost during winter.
In summer, keep an eye on moisture levels and mulch to reduce evaporation.
Come fall, remove spent plants and add organic matter to improve soil structure over winter.
Testing your soil annually helps you adjust pH and nutrient levels precisely.
Avoid compacting the soil by minimizing foot traffic, and rotate crops to prevent nutrient depletion and disease buildup.
Frequently Asked Questions
What Types of Plants Grow Best in Raised Garden Beds?
You’ll find leafy greens, herbs, tomatoes, peppers, and root vegetables grow best in raised garden beds.
They thrive thanks to good drainage, nutrient-rich soil, and warmer temperatures, giving you a productive, healthy garden.
How Often Should I Water Raised Garden Beds?
You should water raised garden beds about twice a week, but check soil moisture daily. If it feels dry an inch below the surface, it’s time to water.
Adjust frequency based on weather and plant needs.
Can I Use Raised Beds for Growing Vegetables Year-Round?
You can grow vegetables year-round in raised beds—studies show they improve soil temperature by up to 10°F. Just use cold frames or row covers to extend your growing season and protect plants from frost and pests.
What Are the Best Materials for Building Raised Bed Frames?
You’ll want to use rot-resistant wood like cedar or redwood, untreated hardwood, or recycled composite materials. These last long, resist decay, and are safe for veggies.
Avoid treated wood with chemicals that can leach into soil.
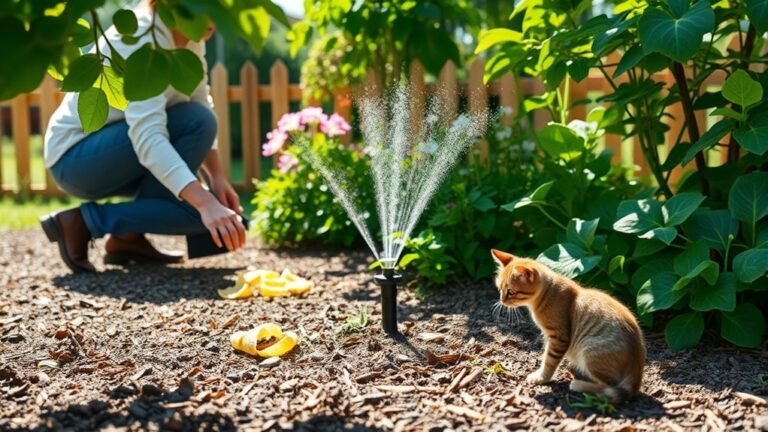
How Do I Prevent Pests in Raised Garden Beds?
You can gently discourage unwanted visitors by using natural barriers like row covers and companion plants.
Keeping your garden tidy and rotating crops also helps, so pests don’t feel welcome or get too comfortable in your raised beds.
Conclusion
Filling your raised garden bed might seem like a simple task, but the difference between a thriving garden and a struggling one lies in the details. While it’s tempting to rush, taking your time to prepare, layer, and nourish your soil creates a strong foundation for growth.
Embrace the contrast: a well-prepared bed now means less work and more harvest later. Your garden’s success starts with the soil you build today.
By following these steps to fill raised garden beds properly, you ensure healthy soil structure, improved drainage, and nutrient-rich layers. This careful preparation is key to achieving a vibrant and productive garden.