How to Level a Garden in 5 Simple Steps
To level your garden, start by clearing away any debris like rocks, sticks, or old plants.
Then, grab a spirit level and a straight board to check for high and low spots in the soil. This helps you understand where the garden needs adjusting.
Next, mark your desired levels using stakes and string. This visual guide makes it easier to see where to remove or add soil.
After marking, remove excess soil from the high areas. For the low spots, fill them in with quality topsoil or compost to create an even surface.
Once you’ve adjusted the soil, compact it using a lawn roller. This keeps everything firm and prevents future sinking.
Finally, check for drainage issues. If water pools in any area, consider adding channels or drains.
Following these steps will help you achieve a perfectly level and healthy garden in no time!
Key Takeaways
- Clear the garden area of rocks, plants, and debris to ensure visibility and workspace cleanliness. This will make it easier to see what you’re working with and keep things tidy.
- Use a straight board and spirit level to find high and low spots. Mark the uneven areas with stakes and string so you know where to focus.
- Remove excess soil from the high spots, and fill in the low areas with quality topsoil or compost. This will help create an even surface for your garden.
- Compact the soil using a lawn roller. This step stabilizes the soil and helps keep your garden bed flat and level.
- Finally, check for drainage problems. Make sure the garden slopes away from structures, and install drainage solutions if needed to prevent water buildup.
Identify High and Low Spots in Your Garden
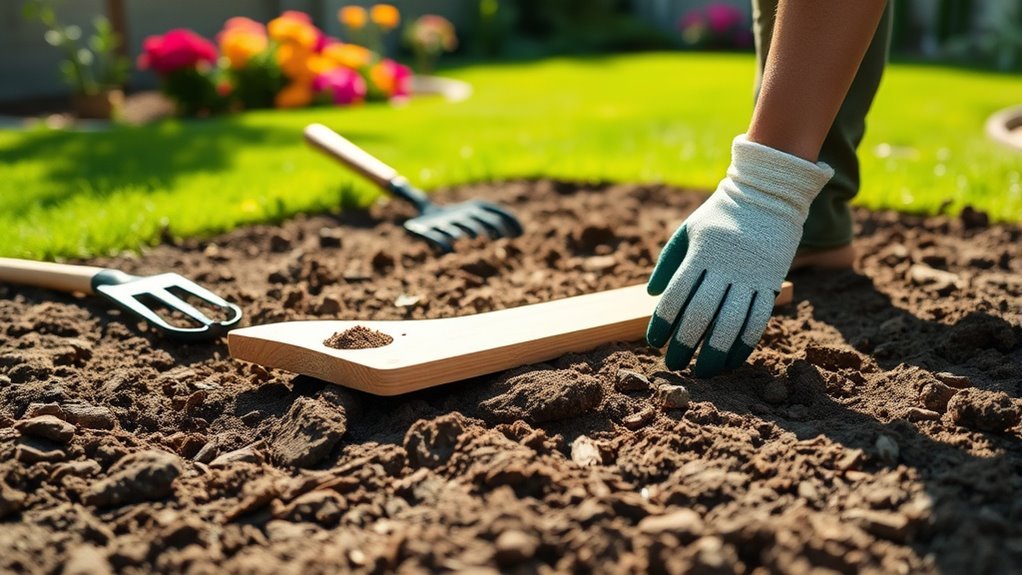
Before you begin leveling your garden, clear away any rocks, plants, and debris to get an unobstructed view of the ground. To accurately identify high and low spots, use a straight piece of lumber or a long board paired with a spirit level.
Clear your garden of debris, then use a board and spirit level to spot high and low areas accurately.
Lay the board across different areas and check for unevenness. You can also measure the height drop over a set distance using a string line and tape measure, which helps pinpoint uneven terrain more precisely.
Mark these high and low points with stakes and string to create clear visual references. Don’t forget to regularly reevaluate the slope with your spirit level during this process to guarantee consistent accuracy.
This careful identification will make your leveling work much easier and more effective. It’s definitely worth taking the time to get it right!
Mark Desired Levels and Clear the Area
Start by marking the desired levels of your garden using stakes and string to create a clear outline. Use a spirit level or a straight piece of lumber to check for slopes. Then, measure height drops accurately with a tape measure.
Mark desired levels clearly with spray paint or flags to guide your work. Next, clear the area of rocks, plants, and debris. This will give you a clean workspace for leveling.
| Step | Purpose |
|---|---|
| Stakes & String | Outline desired garden levels |
| Spirit Level | Detect slope and uneven spots |
| Tape Measure | Measure height differences |
| Spray Paint/Flags | Mark levels clearly |
This method helps you mark desired levels precisely and gets the area ready for smooth leveling.
Remove Excess Soil and Add Soil to Low Areas
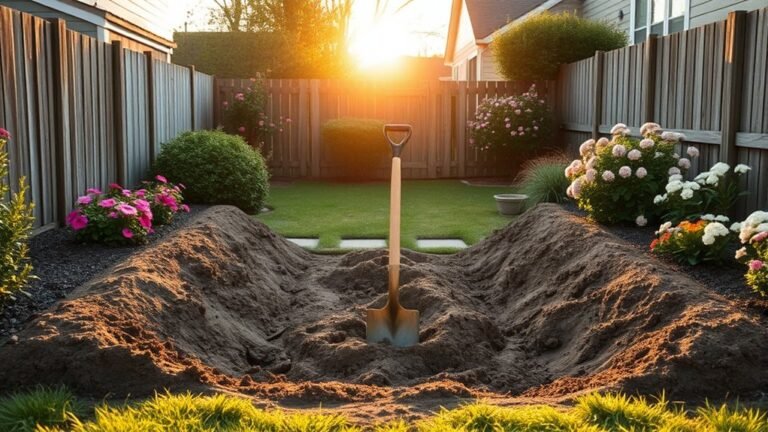
Once you’ve identified high spots with your straight board and spirit level, you’ll want to remove the excess soil carefully using a shovel. Focus on these raised areas, taking care not to disturb surrounding soil unnecessarily.
As you remove excess soil, redistribute it to low areas in your garden that need filling. For these spots, add high-quality topsoil or compost to guarantee a healthy foundation for plants.
Keep checking your progress with the spirit level, making certain the surface remains even. This step is really vital for a balanced garden layout.
Compact Soil to Keep Your Garden Level
Although you’ve leveled your garden by adding and removing soil, compacting the soil is essential to keep it stable and prevent future sinking. You can use a lawn roller to compact soil evenly. This also helps reduce pore space, which improves moisture retention and prevents erosion.
Remember to check for uneven spots regularly. Compact the soil after any adjustments to maintain a flat surface.
| Benefit | Description |
|---|---|
| Stability | Prevents soil settling and sinking |
| Moisture retention | Enhances water holding capacity |
| Soil erosion prevention | Minimizes soil loss |
| Healthy plant growth | Supports proper drainage |
Check for Drainage Issues and Fix Them
After compacting your soil to keep it level, the next step is to check for drainage problems that could undermine your efforts. Start by observing areas where water pools after heavy rain—these spots reveal drainage issues you need to fix.
Use a shovel to dig out compacted soil and create channels that direct water away from foundations toward proper drainage points. Apply a sloped grading technique, ensuring the ground slopes at least 1% away from structures to promote runoff.
Improve soil structure by mixing in organic matter or compost, boosting its drainage capacity and garden health. For persistent waterlogging, install drainage solutions like French drains, perforated pipes, or dry wells to efficiently manage excess water and keep your garden level and healthy.
Frequently Asked Questions
What Is the Easiest Way to Level a Garden?
The easiest way to level your garden is by using a straight piece of lumber and a spirit level to find high and low spots. Then, remove obstacles and redistribute soil, compacting it for a smooth, even surface.
What Is the 70 30 Rule in Gardening?
The 70/30 rule means you focus 70% of your garden on practical use—like pathways and irrigation—and 30% on aesthetics. This balance helps you create a beautiful, functional, and easy-to-maintain garden space.
How Do You Flatten a Bumpy Garden?
You flatten a bumpy garden by clearing debris, marking levels, then digging up high spots and filling low areas. Compact the soil regularly, guarantee proper drainage, and use mulch to keep moisture consistent and prevent erosion.
How Do I Level up My Garden?
Think of your garden like a canvas; you’ll clear debris, mark levels with stakes, then move soil from high to low spots. Compact it regularly, check drainage, and mulch to keep your masterpiece thriving and even.
Conclusion
So, you’ve mastered the art of turning your garden into a perfectly flat paradise—because who doesn’t dream of a lawn that’s as level as your morning coffee? Just remember, nature loves a little chaos, so don’t be surprised if your garden decides to rebel with a few bumps.
But hey, with these five simple steps, you’re basically a landscaping wizard. Now go forth and conquer that uneven terrain—your garden’s new personality depends on it!
Leveling a garden may seem tricky, but it’s all about patience and the right technique. By following these easy steps, you’ll transform your space into a smooth, inviting lawn that’s perfect for relaxing or entertaining. Remember, a well-leveled garden not only looks great but also helps with drainage and plant growth. So grab your tools, get to work, and enjoy the satisfaction of a beautifully landscaped garden that’s truly level and ready for anything!