How Do You Level Your Garden in 7 Easy Steps?
First, clear your garden of debris and weeds to start fresh. Leveling your garden is essential for proper drainage and healthy plant growth. Next, measure and mark high and low spots using stakes or flags.
Check the level and slope with simple tools like a spirit level or string line. Balance uneven areas by adding or removing soil evenly. Compact the soil in layers to prevent settling.
Recheck the level and adjust where needed. Finish by smoothing the surface, and you’ll have a perfect base ready for planting—keep going to explore detailed tips for each step.
Clear Debris and Weeds to Prepare Your Garden
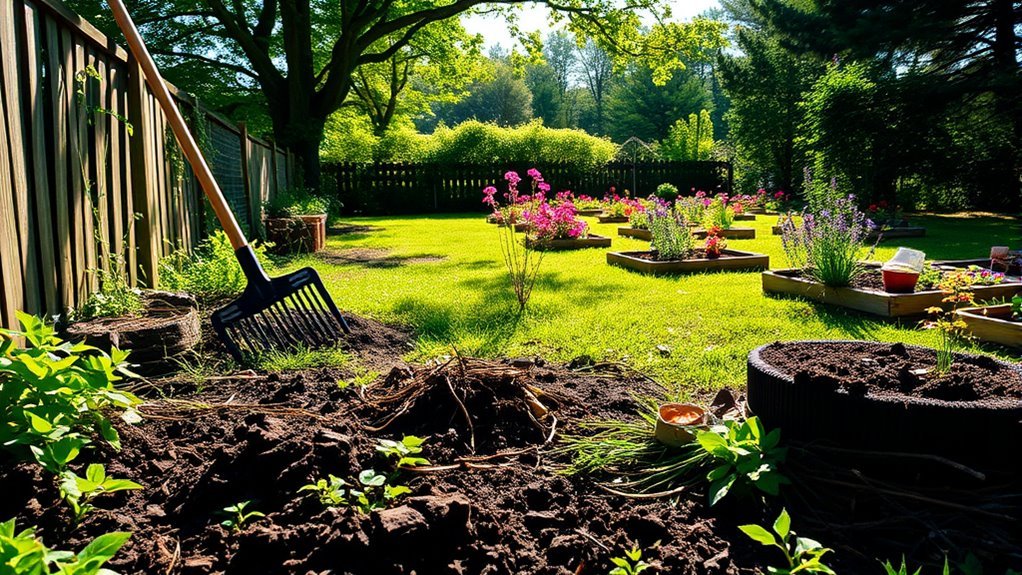
Where do you begin when preparing your garden for leveling? Start by clearing away all debris and weeds. This step is essential because leftover plants and trash can interfere with your leveling efforts.
Grab a sturdy rake or garden fork and remove sticks, stones, and any old plant material. Pull out weeds by their roots to prevent them from growing back quickly. You might want to use gloves to protect your hands and a wheelbarrow to collect the waste.
Clearing everything thoroughly ensures you have a clean slate, making it easier to spot uneven areas later on. Taking the time now prevents complications down the road and sets a solid foundation for the next steps in leveling your garden efficiently.
Measure and Mark Your Garden’s High and Low Points Accurately
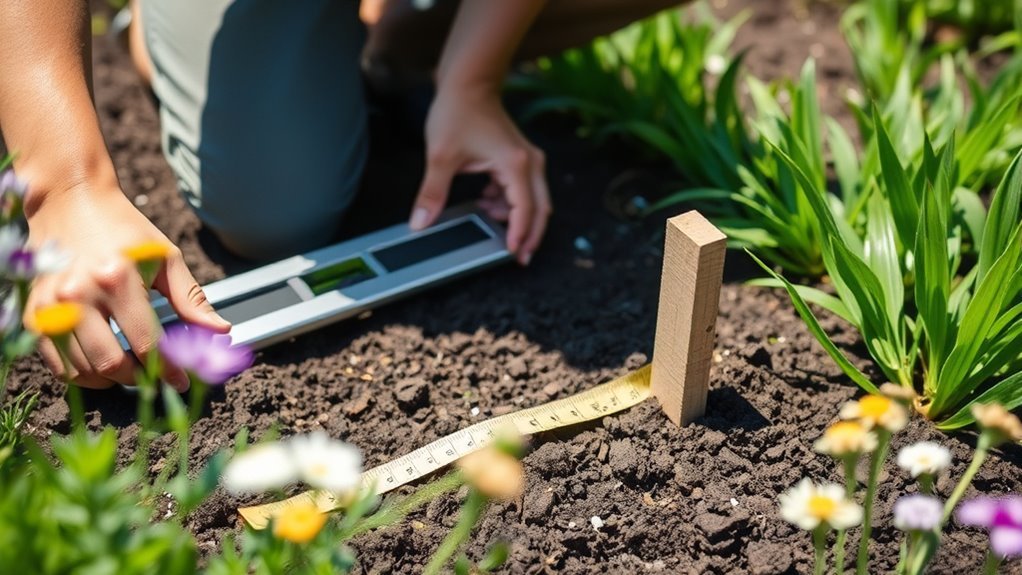
Before you start leveling, you’ll need to measure and mark the high and low points of your garden accurately. Begin by walking around your garden with a tape measure or a long straight board. Identify the spots where the ground feels highest and lowest. Use stakes or flags to mark these points clearly.
Measure the height difference between these spots by placing a string level or a simple water level across the stakes. Note the measurements to understand how much soil you’ll need to add or remove. Mark these spots visibly to guide your leveling work.
Accurately marking these points guarantees you create a smooth, even surface and prevents water pooling or drainage problems later on. This step sets the foundation for a perfectly leveled garden.
Use Simple Tools to Check Your Garden’s Level and Slope
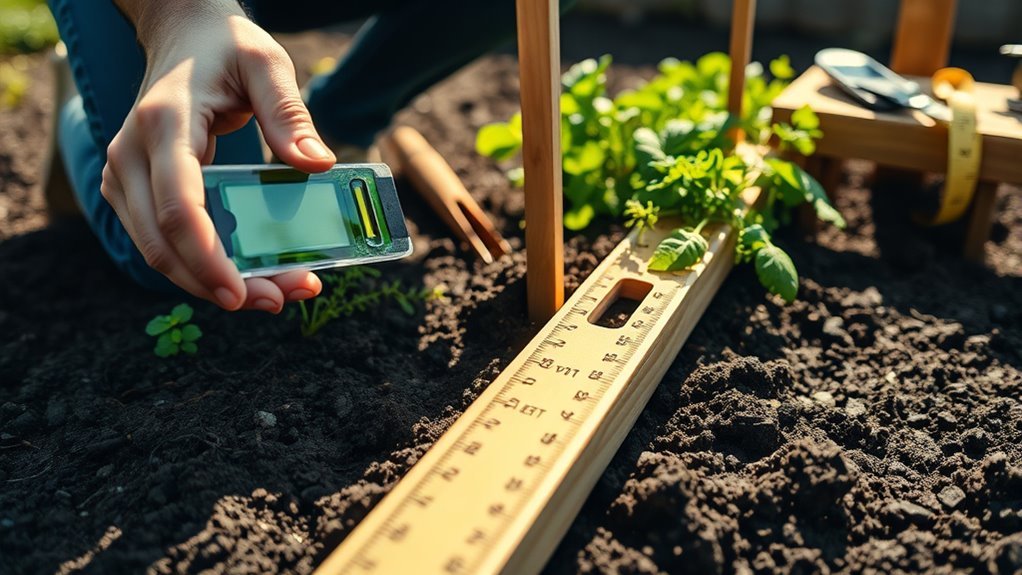
You can use simple tools like a spirit level or a long straight board with a level attached to check your garden’s flatness.
A string line stretched between stakes helps you see the slope clearly and measure differences in height.
These easy methods give you accurate info to adjust your garden’s surface properly.
Tools For Measuring Level
Although professional leveling tools exist, you can easily measure your garden’s level and slope with simple, affordable items you likely already have.
Here are three tools to help you get started:
- Water Level – Fill a clear plastic tube with water, then hold both ends at different garden points. The water levels inside the tube will show if the ground is even.
- Carpenter’s Level – Place this on a flat board laid across your garden. The bubble will indicate if the surface is level.
- String Line and Stakes – Stretch a string tightly between two stakes set at the same height. Check the string’s distance from the ground at various points to spot any uneven spots.
These tools help you quickly and accurately measure your garden’s level without fancy equipment.
Assessing Garden Slope
When evaluating your garden’s slope, simple tools like a water level or string line make the process straightforward and accurate.
Start by stretching a string line across your garden at the height you want it leveled. Use a water level to check for differences in height between points along the string. If the string sags or rises, you’ll know where to add or remove soil.
| Tool | Use | Accuracy |
|---|---|---|
| Water Level | Measures height evenly | High |
| String Line | Visual slope guide | Moderate |
| Spirit Level | Checks small areas level | High for small areas |
With these tools, you’ll clearly identify slopes and plan your leveling steps precisely.
Balance Uneven Areas by Adding or Removing Soil Correctly
Since uneven soil can cause water to pool or drain improperly, balancing your garden’s surface by adding or removing soil is essential.
Uneven soil leads to poor water drainage, making surface leveling crucial for a healthy garden.
Here’s how you can do it correctly:
- Identify low and high spots by walking your garden with a level or straight board. Mark areas that need filling or cutting.
- For low spots, add quality topsoil gradually. Spread it evenly and avoid piling too much at once to prevent future settling.
- Remove excess soil from high areas using a shovel. You can reuse this soil for filling low spots, making the process efficient.
Compact Garden Soil to Prevent Future Settling
To keep your garden level over time, you need to compact the soil properly after adding or removing it. Compacting prevents future settling that can create uneven spots again.
You can use tools like a hand tamper or simply press down firmly with your feet to achieve a solid base.
Importance of Soil Compaction
Although preparing your garden bed is exciting, you’ll want to compact the soil properly to prevent future settling that can disrupt your level surface.
Soil compaction is essential because:
- It stabilizes the ground, ensuring your garden stays even over time.
- It reduces air pockets, which helps support plant roots by providing consistent soil contact.
- It minimizes soil erosion and water runoff, maintaining the integrity of your garden layout.
Techniques for Compacting Soil
When you compact your garden soil correctly, you create a strong foundation that prevents uneven settling later on. Start by removing debris and moistening the soil slightly—it should be damp but not soggy.
Use a hand tamper or a lawn roller to press the soil firmly, moving in overlapping passes to guarantee even compaction.
For larger areas, a mechanical plate compactor can save time and effort.
Avoid compacting too much at once; work in layers about 4-6 inches deep, compacting each before adding more soil. This layered approach provides better stability.
Finally, check for low spots and fill them, then compact again.
Recheck Your Garden’s Level and Adjust Soil as Needed
Since uneven soil can cause water to pool or drain improperly, you’ll want to reverify your garden’s level carefully before moving on. Use a long straight board with a level on top to spot any dips or high spots.
If you find uneven areas, adjust the soil accordingly.
Here’s how to do it:
- Add soil to low spots and gently spread it out.
- Remove excess soil from high spots and redistribute it where needed.
- Use your leveling tool again to confirm the surface is even.
Repeat these steps until your garden’s surface is consistently flat.
Taking the time to recheck and adjust now saves you from drainage problems later and ensures your plants or lawn will thrive.
Smooth the Surface for Planting or Lawn
After confirming your garden’s surface is level, the next step is to smooth it out for planting or laying lawn. Use a rake to evenly distribute the soil, breaking up any clumps and filling small dips. This creates a consistent, fine texture that helps seeds or grass roots establish easily.
Avoid compacting the soil too much; you want it firm but still loose enough for roots to grow. If you’re planting, gently rake the surface to create a soft seedbed.
For lawns, lightly roll the area with a lawn roller to ensure good soil-to-seed contact without crushing the soil.
Taking these steps guarantees your garden has a smooth, even foundation, promoting healthy plant growth and a beautiful lawn.
Frequently Asked Questions
What Types of Plants Thrive Best in a Newly Leveled Garden?
You’ll find that hardy plants like lavender, rosemary, and succulents thrive best in a newly leveled garden. They adapt well to even soil, require minimal care, and establish strong roots quickly for a vibrant, healthy space.
How Often Should I Re-Level My Garden After Heavy Rains?
Think of your garden like a dance floor—after heavy rains, check it every one to two weeks.
You’ll want to re-level when puddles linger or soil shifts, keeping your plants happy and steady in their spot.
Can I Level My Garden on a Slope Without Professional Help?
Yes, you can level your garden on a slope without professional help by using simple tools like a shovel and a rake. Just work gradually, create terraces if needed, and guarantee proper drainage to avoid erosion or water buildup.
Take your time to plan the layout and ensure the soil is stable before you start digging. This approach helps you manage the slope effectively while preventing damage to your garden.
What Is the Best Time of Year to Level a Garden?
The best time to level your garden is during early spring or fall when the soil is moist but not waterlogged.
You’ll find it easier to work the soil and get a smooth, even surface without too much effort.
Are There Eco-Friendly Soil Additives to Improve Garden Leveling?
Yes, you can use eco-friendly additives like compost, worm castings, and coconut coir to improve soil structure and drainage. These natural materials help you level your garden while enriching the soil without harming the environment.
They enhance soil fertility and promote healthy plant growth. Using such sustainable options supports a greener, healthier garden ecosystem.
Conclusion
So, you’ve cleared debris, measured slopes, added or removed soil, and compacted everything like a pro. Congrats! Your garden is now so level, even a tightrope walker would be jealous.
No more surprise mudslides or uneven grass patches—unless you enjoy impromptu obstacle courses. Just remember to recheck and smooth that surface, or your garden might pull a sneaky “I was never level” trick on you.
Happy gardening, you soil-sculpting genius! By following these simple steps, you can easily level your garden and create the perfect outdoor space.