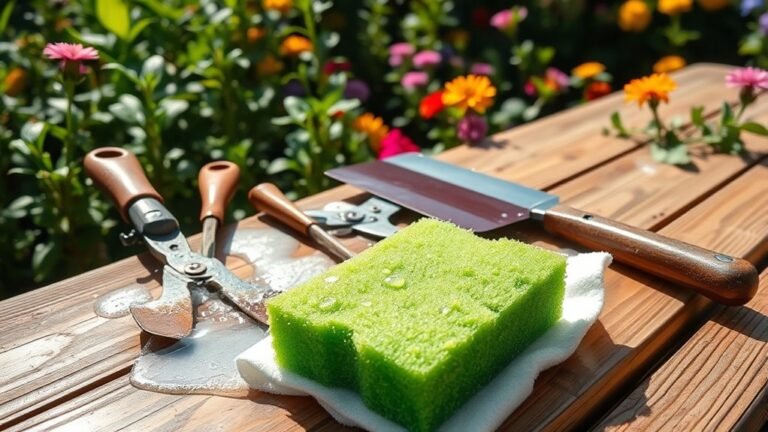
How Do You Render a Garden Wall in 3 Easy Steps?
To render your garden wall in three easy steps, start by cleaning the surface thoroughly. This means removing old render, debris, and filling any minor cracks you find.
Preparing the wall properly is key to getting a smooth, long-lasting finish.
Next, mix and apply the first coat of render about 5mm thick. While you do this, embed a reinforcing mesh into the wet render.
Don’t forget to scratch the surface lightly—this helps the next layer stick better.
Finally, apply a smooth second coat around 10mm thick. Take your time to level and polish it for a neat, professional finish.
Keep going to discover some useful tips for curing the render and ensuring it stays durable through all seasons.
Key Takeaways
- Prepare the wall by removing old render, cleaning, and dampening it evenly.
- Apply the first render coat with embedded mesh and scratch it for better adhesion.
- Allow the first coat to dry before applying the second, thicker coat evenly.
- Level and smooth the second coat, then mist the wall daily for five days to cure.
- Finish by smoothing imperfections and monitoring curing to prevent cracks and ensure durability.
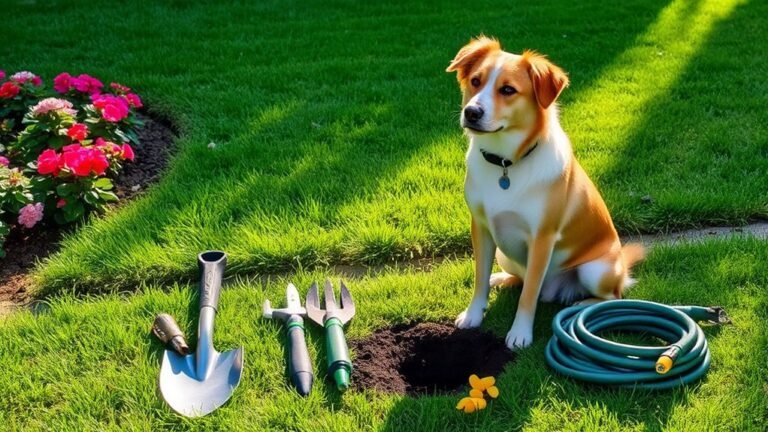
Get Your Garden Wall Ready by Cleaning and Repairing
To get your garden wall ready for rendering, start by stripping off any old render and debris using a cold chisel. You want to strip the surface thoroughly to reveal a clean base.
Next, inspect the wall carefully for cracks or holes and fill any manageable imperfections to guarantee a smooth substrate.
Carefully check the wall for cracks or holes, filling any imperfections to ensure a smooth base.
After repairing, clean the wall with a stiff-bristled brush, removing dirt, moss, and organic material to improve adhesion.
Once clean, dampen the wall lightly with a spray from your garden hose—this damper surface helps the new render bond better.
Don’t forget to lay down drop cloths around your work area to catch drips and keep your surroundings tidy.
Following these steps sets you up perfectly for applying a fresh render coat.
Mix and Apply the First Render Coat With Reinforcement Mesh
Once your garden wall is clean, repaired, and lightly dampened, you can mix the first coat of render. Mix the render to a thick, paste-like consistency following the manufacturer’s instructions.
Apply the first coat of render evenly, about 5mm thick, working from bottom to top. Next, lay the rendering mesh onto the wet first coat, fully embedding it for added strength.
Then, surface with a scratching comb to create grooves in the scratch coat of render. This prepares the wall for applying the second, thicker coat.
| Step | Action | Purpose |
|---|---|---|
| Mix the render | Combine water and mortar | Achieve proper paste consistency |
| Apply the first coat | Trowel 5mm thick layer | Base layer for strength |
| Embed mesh | Place rendering mesh in wet render | Reinforce render |
| Scratch surface | Use scratching comb | Improve adhesion for second coat |
This step-by-step guide guarantees your wall not only looks great but lasts longer.
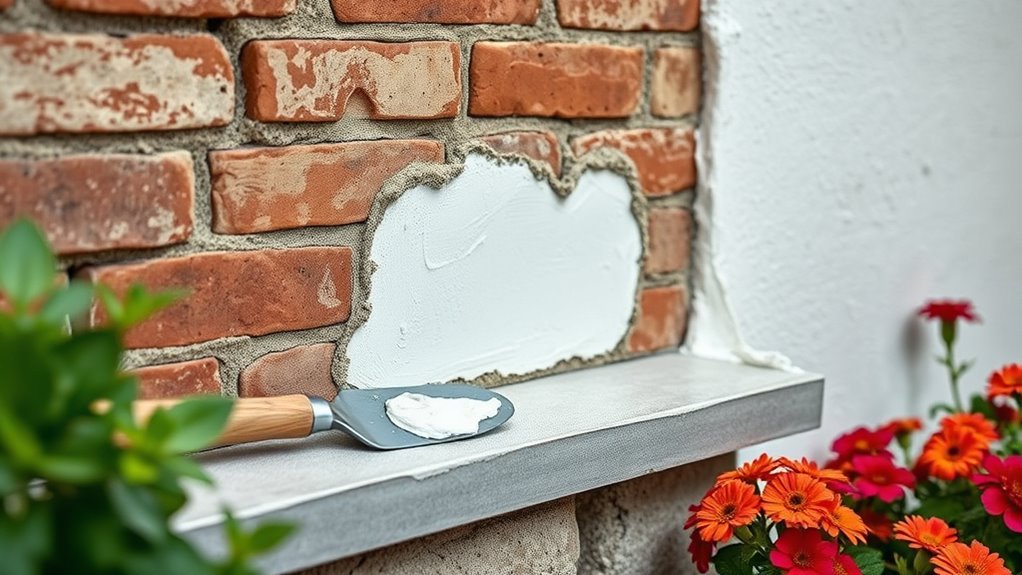
Apply and Smooth the Second Render Coat for a Polished Finish
Apply the second coat of render about two hours after the first has dried, spreading it evenly to a thickness of roughly 10mm. Use a straight edge to level the second coat from bottom to top, guaranteeing a smooth and even surface.
Wait about 30 minutes before smoothing out the coat to allow proper adhesion. To achieve a polished finish, gently smooth the render with a damp sponge or float, carefully removing any imperfections you spot.
This step is vital when you render a garden wall, as it defines the final look. Afterward, mist the wall daily with water for five days to support the curing process and prevent cracking.
Frequently Asked Questions
How to Render a Garden Wall for Beginners?
You start by cleaning and moistening the wall, then apply a thin first coat of render. After it dries, add a thicker second coat, smooth it out, and mist the wall daily for proper curing and crack prevention.
What Is an Alternative to Rendering a Garden Wall?
If you want to kill two birds with one stone, try cladding your garden wall with timber or stone veneer. It’s low-maintenance, looks natural, and saves you the hassle of messy rendering while boosting curb appeal effortlessly.
How Easy Is It to Render an Outside Wall?
Rendering an outside wall is pretty straightforward if you prepare properly. You’ll need patience for drying times and careful application, but with basic tools and steps, you can achieve a smooth, durable finish without too much hassle.
How to Re-Render a Wall for Beginners?
You’ll gently prepare your wall by clearing away its tired surface, then apply a base coat to encourage strong bonds. Follow with a smooth finish, misting daily to guarantee your wall gracefully regains its charm.
Conclusion
Now that you’ve tackled your garden wall like a pro, you’ve turned a blank canvas into your own Great Wall of serenity. Just like a master painter, your careful cleaning, reinforcing, and smoothing bring strength and beauty together.
With these three simple steps, you’ve created a space that stands firm and looks stunning—ready for seasons of memories and blooming dreams. Keep this rhythm, and your garden will always be a masterpiece.
Rendering your garden wall is all about patience and technique. By cleaning the surface thoroughly, reinforcing weak spots, and applying a smooth, even render, you ensure durability and charm. This simple process not only protects the wall but also enhances your outdoor space’s aesthetic appeal.
So, remember these easy steps to render a garden wall: clean, reinforce, and smooth. With consistent care, your garden wall will remain strong and beautiful for years to come, becoming a focal point of your garden’s charm and serenity.