7 Steps to Level a Sloped Garden Quickly
Start by measuring your sloped garden and planning how you’ll level it. Clearing the garden area of obstacles like rocks and debris is essential for a smooth process. Next, mark level lines with stakes and string to guide your work accurately.
Dig down any high spots and use the excavated soil to fill low areas, ensuring an even surface. Compact the soil firmly to create stability and prevent future shifting. For steeper slopes, consider building retaining walls or terraces to hold the soil in place.
Finally, add topsoil and prep the soil for planting to create a healthy growing environment. Keep going to discover helpful tips for each step.
Measure Your Sloped Garden and Plan Your Approach

Before you begin any physical work, you need to measure your sloped garden accurately and plan your approach. Start by marking the boundaries with stakes and string to outline the area.
Use a long level or a laser level to determine the slope’s gradient at several points.
Measure the height difference from the highest to the lowest point to understand how much soil you’ll need to move or add.
Sketch a simple map showing these measurements and note any features like trees or pathways you want to keep.
Decide whether you’ll create terraces, a gentle slope, or level sections based on these measurements.
Planning now saves time and effort later, ensuring your garden will drain properly and look balanced once leveled.
Clear the Area and Remove Obstacles
Before you start leveling, make sure to clear the area by identifying and removing all debris.
Take out large obstacles like rocks or old roots first, then clear away smaller vegetation.
This will give you a clean, safe space to work efficiently.
Identify Debris Types
Although it might seem tedious, identifying the types of debris in your garden is essential for a smooth leveling process. Start by scanning the area carefully to spot leaves, twigs, stones, and any leftover plant matter.
Knowing what you’re dealing with helps you choose the right tools and disposal methods.
For example, organic debris like leaves and grass clippings can be composted, while rocks and stones need to be removed or relocated.
Watch out for broken glass, metal scraps, or trash that could cause injury or damage your equipment.
Taking the time to sort debris into categories not only makes clearing faster but also guarantees safety and efficiency.
Once you’ve identified everything, you’ll be ready to clear the space thoroughly before moving on.
Remove Large Obstacles
Start by removing any large obstacles like rocks, branches, or garden furniture that could get in the way of leveling your garden. Clearing these items guarantees you have a smooth, uninterrupted surface to work on.
Here’s how to tackle this efficiently:
- Inspect the area carefully – Walk through your garden and mark all large items that need removing.
- Gather necessary tools – Use gloves, a wheelbarrow, and possibly a pry bar for heavy or embedded objects.
- Remove and relocate – Lift or dig out obstacles, placing them safely away from your work zone.
Clear Smaller Vegetation
How do you efficiently clear smaller vegetation to prepare your garden for leveling? Start by cutting down grass, weeds, and low shrubs using a string trimmer or garden shears. You’ll want to remove everything that’s not firmly rooted or large enough to require heavy equipment.
After trimming, rake up the debris thoroughly to reveal the soil beneath. If you spot stubborn roots or deep-rooted weeds, dig them out with a hand trowel or hoe to prevent regrowth.
Be sure to clear rocks and any other small obstacles that could interfere with leveling tools.
Taking these steps guarantees a clean, smooth surface for your next phase, making the entire leveling process faster and more effective.
Mark Level Lines With Stakes and String
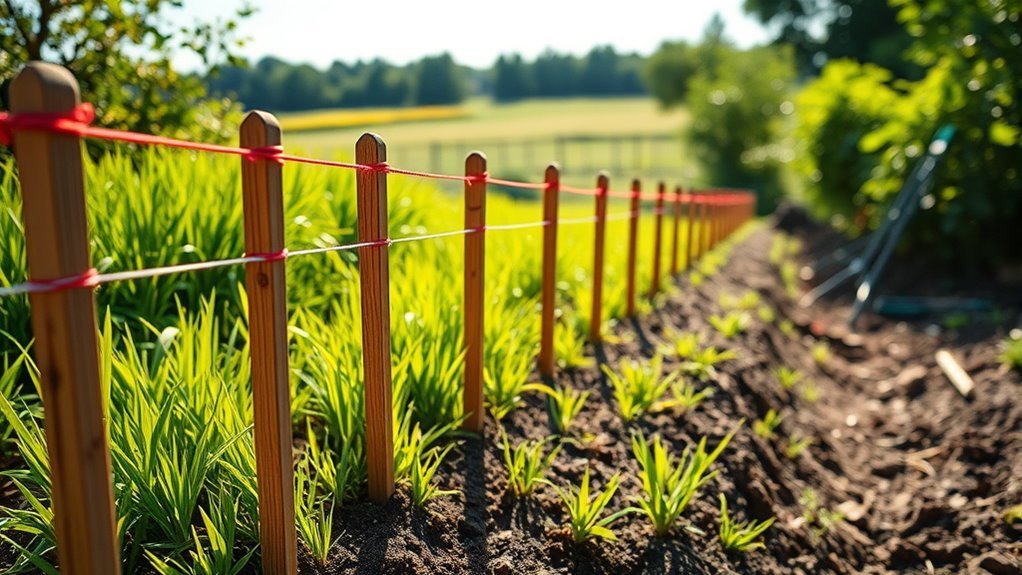
Start by placing stakes at key points along your garden’s slope to outline the area you want to level.
Then, stretch string tightly between the stakes, making sure it stays perfectly horizontal.
This guide will help you see where to cut or fill as you work.
Setting Up Stakes
Where exactly should you place your stakes to guarantee an even level? First, choose spots at the garden’s highest and lowest points along the slope’s length. Then, set stakes at consistent intervals between these points, roughly every 4 to 6 feet, to provide a reliable frame.
Finally, make sure stakes are driven firmly into the ground so they won’t shift during the leveling process.
Follow these simple steps:
- Identify and mark the slope’s endpoints with stakes.
- Place intermediate stakes evenly between these points.
- Drive all stakes securely into the soil.
Aligning String Correctly
Why is aligning the string correctly essential for leveling your garden? It creates a clear, accurate reference line that guides your entire leveling process.
After setting up your stakes, tie the string tightly between them, making sure it’s straight and at the height you want your garden to be level.
Use a line level to check the string’s accuracy—adjust the stakes or string tension until the bubble rests perfectly centered. This guarantees you have a true level line to work from.
Without this, your measurements will be off, and your garden won’t be properly leveled.
Keep the string taut and double-check the level as you move along to maintain precision throughout your project. This simple step saves you time and effort later.
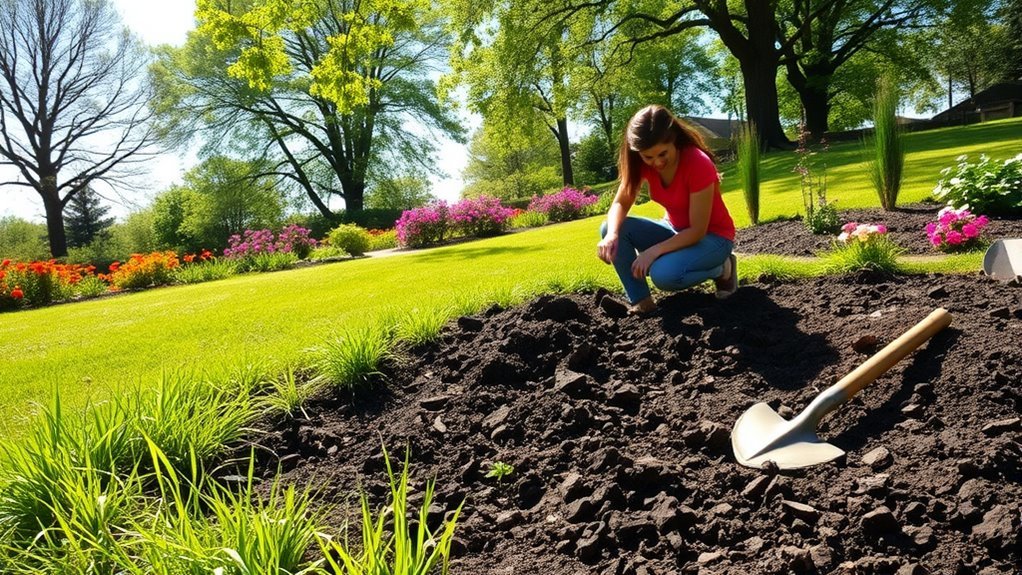
Dig Down High Spots and Fill Low Areas
How do you balance your garden’s uneven terrain effectively? Start by focusing on the high and low spots. You’ll want to dig down the elevated areas and fill in the depressions to create a more uniform surface.
Follow these steps:
- Identify the highest points using your aligned string as a guide. Dig down carefully, removing soil layer by layer until you reach the desired level.
- Collect the soil you’ve dug out and use it to fill in the low areas. Add soil gradually, checking height against your string.
- Repeat this process, alternating between digging and filling until the entire garden surface is even.
This method ensures you use existing soil efficiently and sets the stage for a smooth, level garden bed.
Compact Soil to Create a Stable Surface
Once you’ve evened out the surface by digging and filling, the next step is to compact the soil. This process stabilizes the ground, preventing future sinking or shifting. Start by moistening the soil slightly; damp soil compacts better than dry soil.
Use a hand tamper or a plate compactor for larger areas to press the soil firmly. Work in sections, ensuring each area is tightly packed before moving on. Avoid over-wetting, as soggy soil can become unstable.
After compacting, check for any low spots and add soil if necessary, then compact again. A well-compacted base creates a solid foundation for planting or any other garden features you plan to add later.
This step is vital for a lasting, level garden surface.
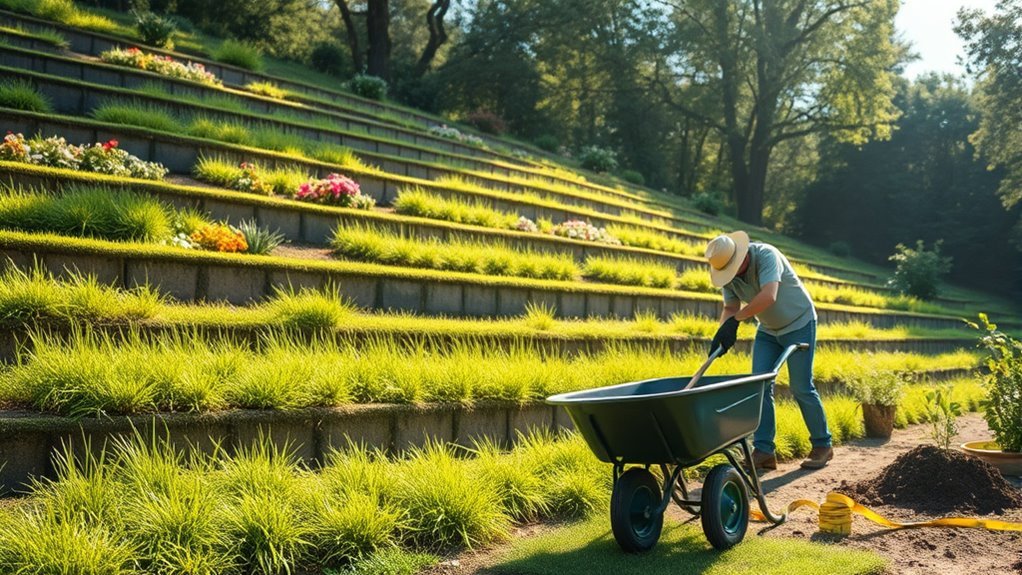
Build Retaining Walls or Terraces When Needed
If your garden’s slope is steep or prone to erosion, building retaining walls or terraces can provide essential support and prevent soil from washing away. These structures help create level planting areas and improve water drainage.
Here’s how to get started:
- Plan your layout: Identify where walls or terraces will best stabilize the slope and fit your garden’s design.
- Choose materials: Use durable options like stone, brick, or treated wood that match your garden’s style and soil conditions.
- Build with care: Excavate a firm base, ensure proper drainage behind walls, and construct each level securely to hold back soil effectively.
Add Topsoil and Prepare Soil for Planting
After securing your slope with retaining walls or terraces, it’s time to improve the soil quality by adding topsoil and preparing it for planting. Start by spreading a 4-6 inch layer of nutrient-rich topsoil evenly across the leveled areas. This fresh topsoil will provide a fertile base for your plants to thrive.
Enhance your garden by adding a 4-6 inch layer of nutrient-rich topsoil to leveled slopes.
Next, loosen the soil using a garden fork or tiller to improve aeration and drainage. Remove any rocks, roots, or debris that could obstruct root growth.
Mix in organic matter like compost or aged manure to boost soil fertility and structure.
Finally, rake the soil surface smooth, ensuring it’s level and ready for planting. Taking these steps sets a strong foundation for healthy plants and a thriving garden.
Frequently Asked Questions
What Tools Are Best for Leveling a Sloped Garden?
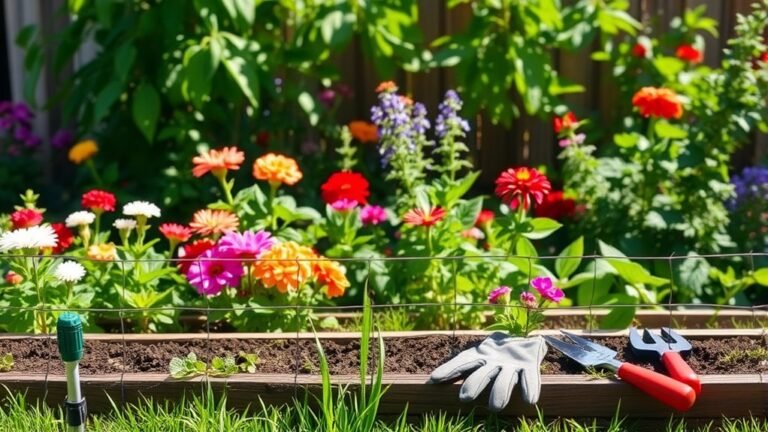
You’ll want a shovel, rake, and wheelbarrow to move soil efficiently. A garden hoe helps break up clumps, while a long level or string line guarantees even grading.
Don’t forget gloves and a sturdy tamper!
How Long Does It Typically Take to Level a Garden?
It typically takes you a few hours to a full day to level a garden, depending on size and slope severity.
With the right tools and preparation, you’ll finish faster and get better results.
Can I Level a Garden Slope Myself or Hire a Professional?
You can level a garden slope yourself if you have basic tools and time, but hiring a professional guarantees precision and saves effort.
Consider your skills, budget, and the slope’s complexity before deciding what’s best for you.
What Plants Grow Best on Leveled Garden Slopes?
You’ll find that drought-tolerant plants like lavender, sedum, and ornamental grasses thrive best on leveled garden slopes. They prevent erosion, require less water, and add texture, making your garden both beautiful and low-maintenance.
How Do I Prevent Soil Erosion After Leveling?
You can prevent soil erosion by planting ground cover, mulching heavily, and installing barriers like terraces or retaining walls.
Water gently after rain and avoid walking on wet soil to keep it stable and intact.
Conclusion
By following these 7 steps, you can transform your sloped garden into a beautiful, level space ready for planting. Did you know that properly terraced gardens can reduce soil erosion by up to 50%? That means not only will your garden look better, but it’ll also stay healthier longer.
Take your time leveling, compacting, and adding topsoil, and you’ll enjoy a stable, thriving garden for years to come. Proper garden leveling and terracing are key to maintaining soil health and promoting plant growth. With these techniques, your sloped garden will become a functional and attractive outdoor space.